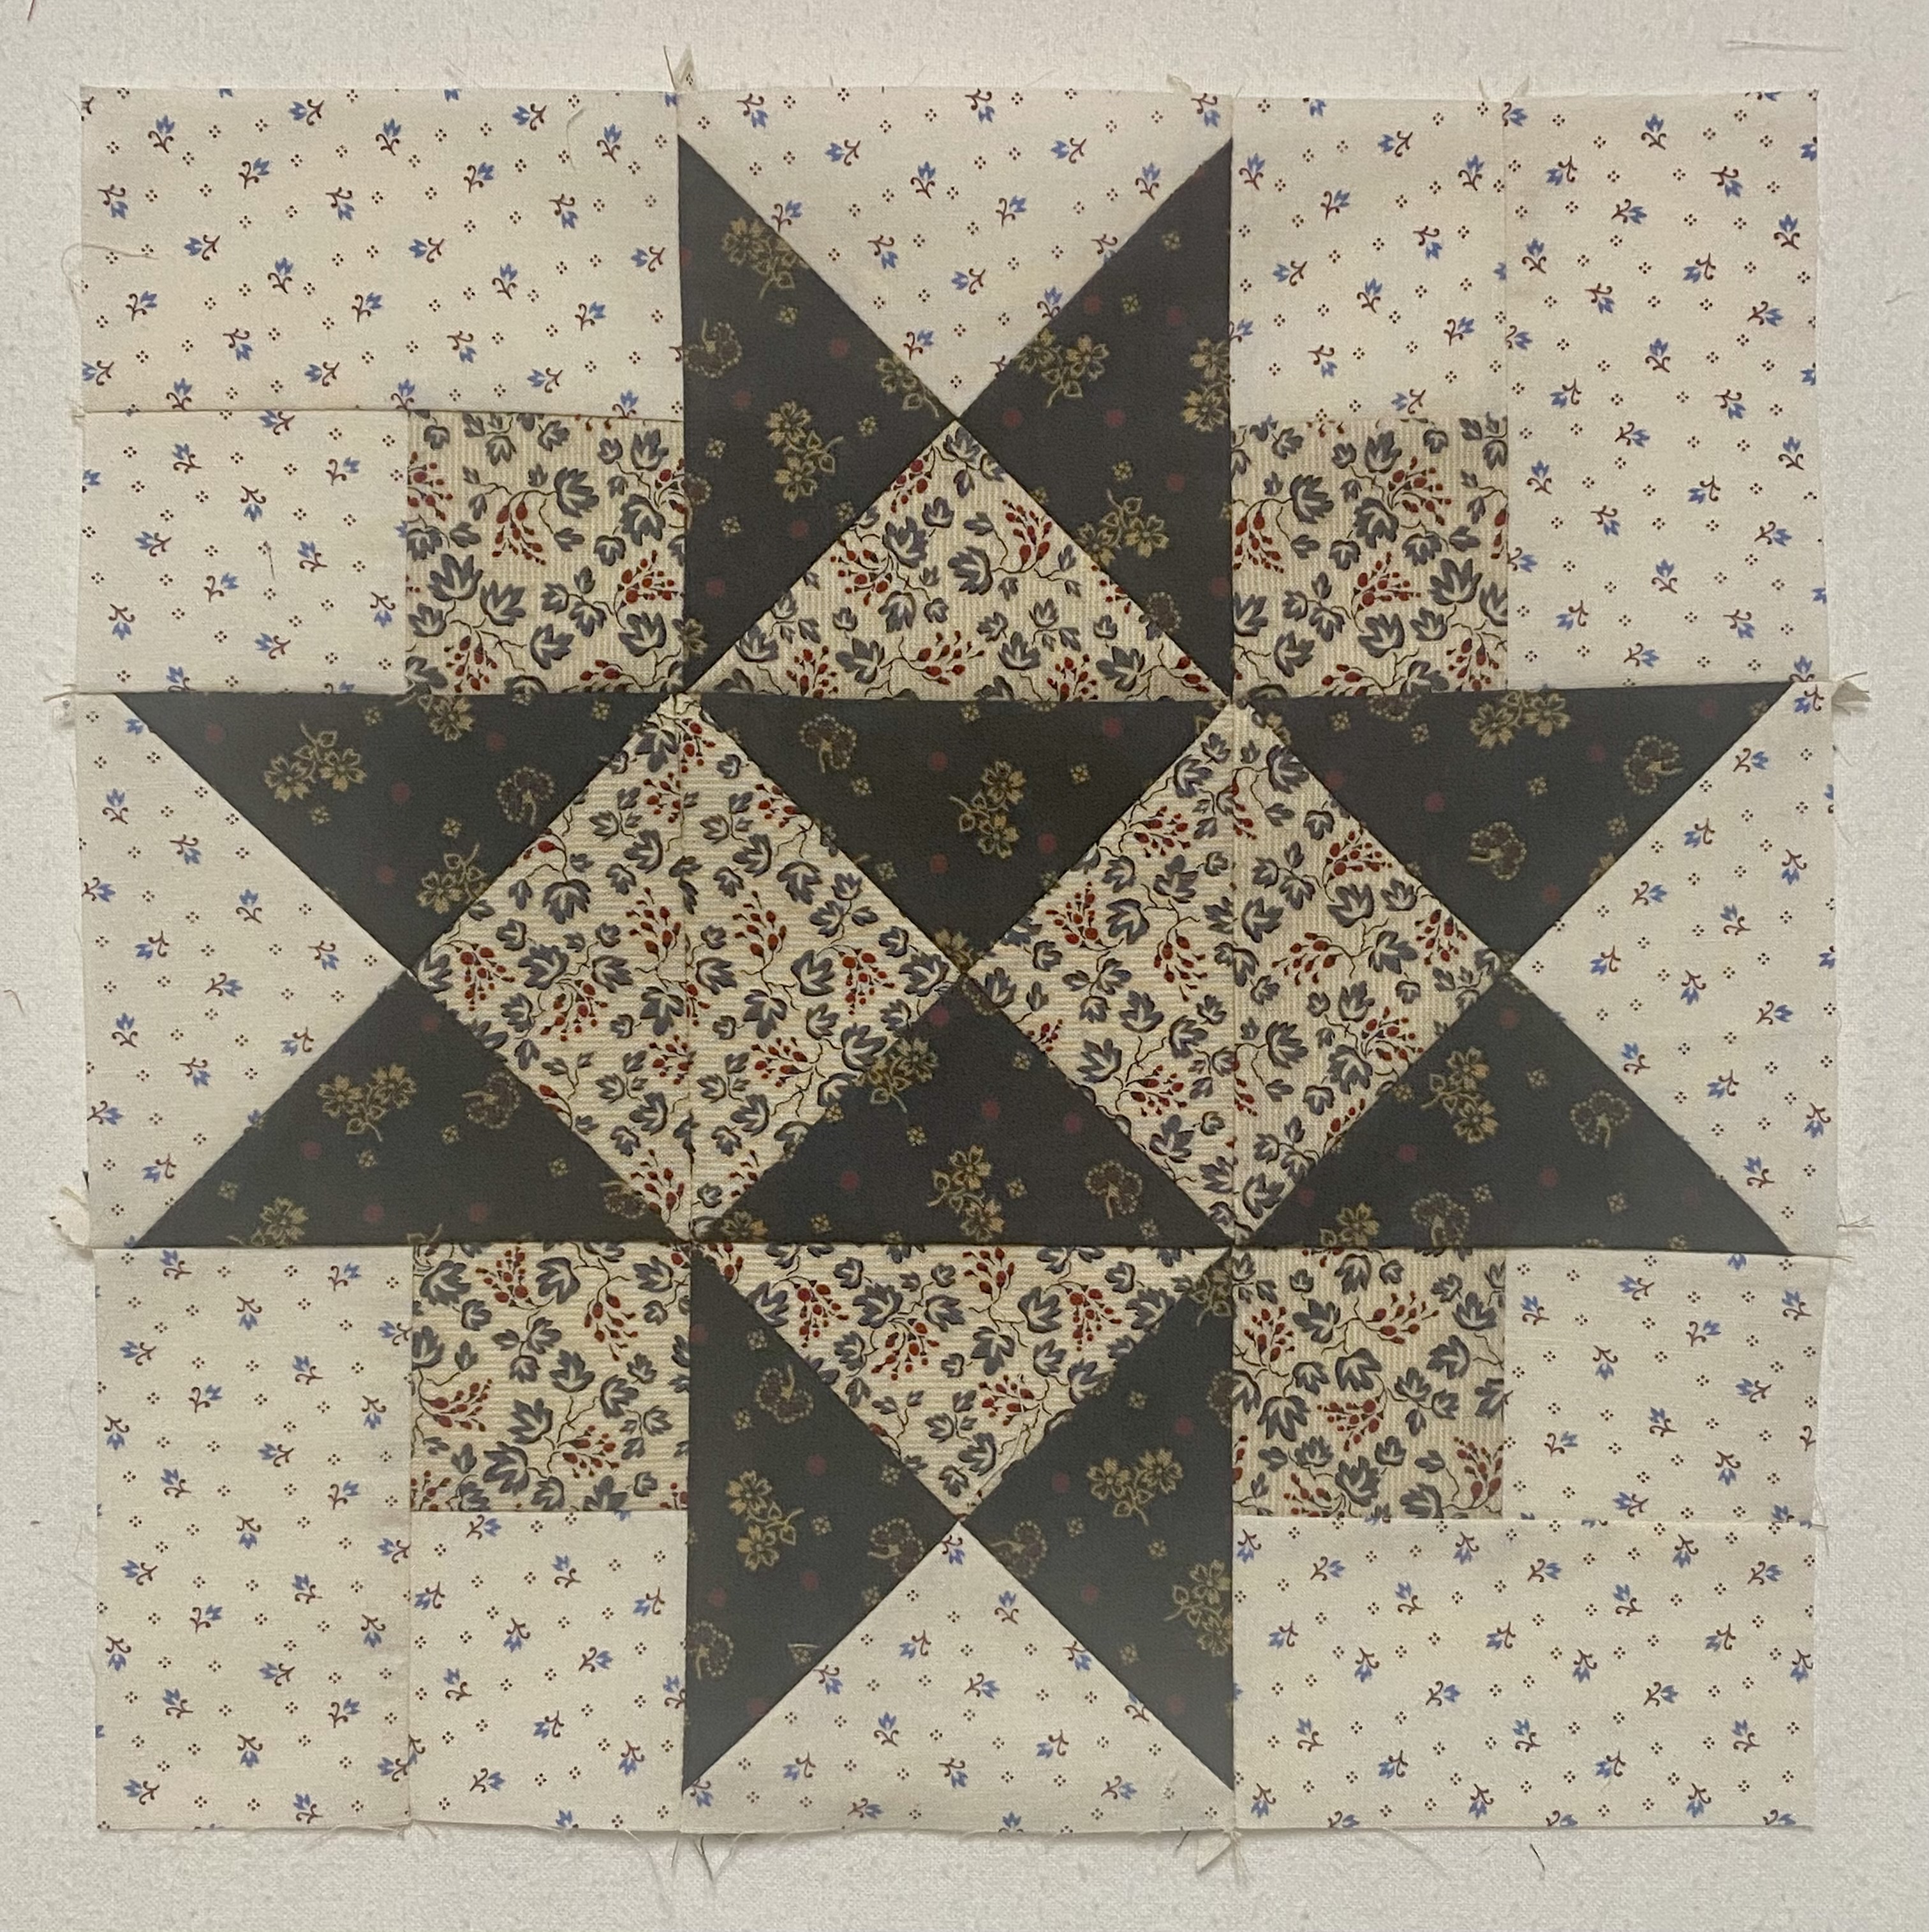
When I'm cutting scraps into patches for future use there are inevitably tiny scraps that are too small for the piecing I do but are too big to be thrown away as far as I'm concerned. So they get tossed into one of three lunch-size paper bags.
Warm colors in one bag, neutrals in another, and cool colors in the third.
Slow stitching has finally justified hanging onto these little bits. For the past couple of weeks I've been digging into these bags to create the foundations for some embellished hearts.
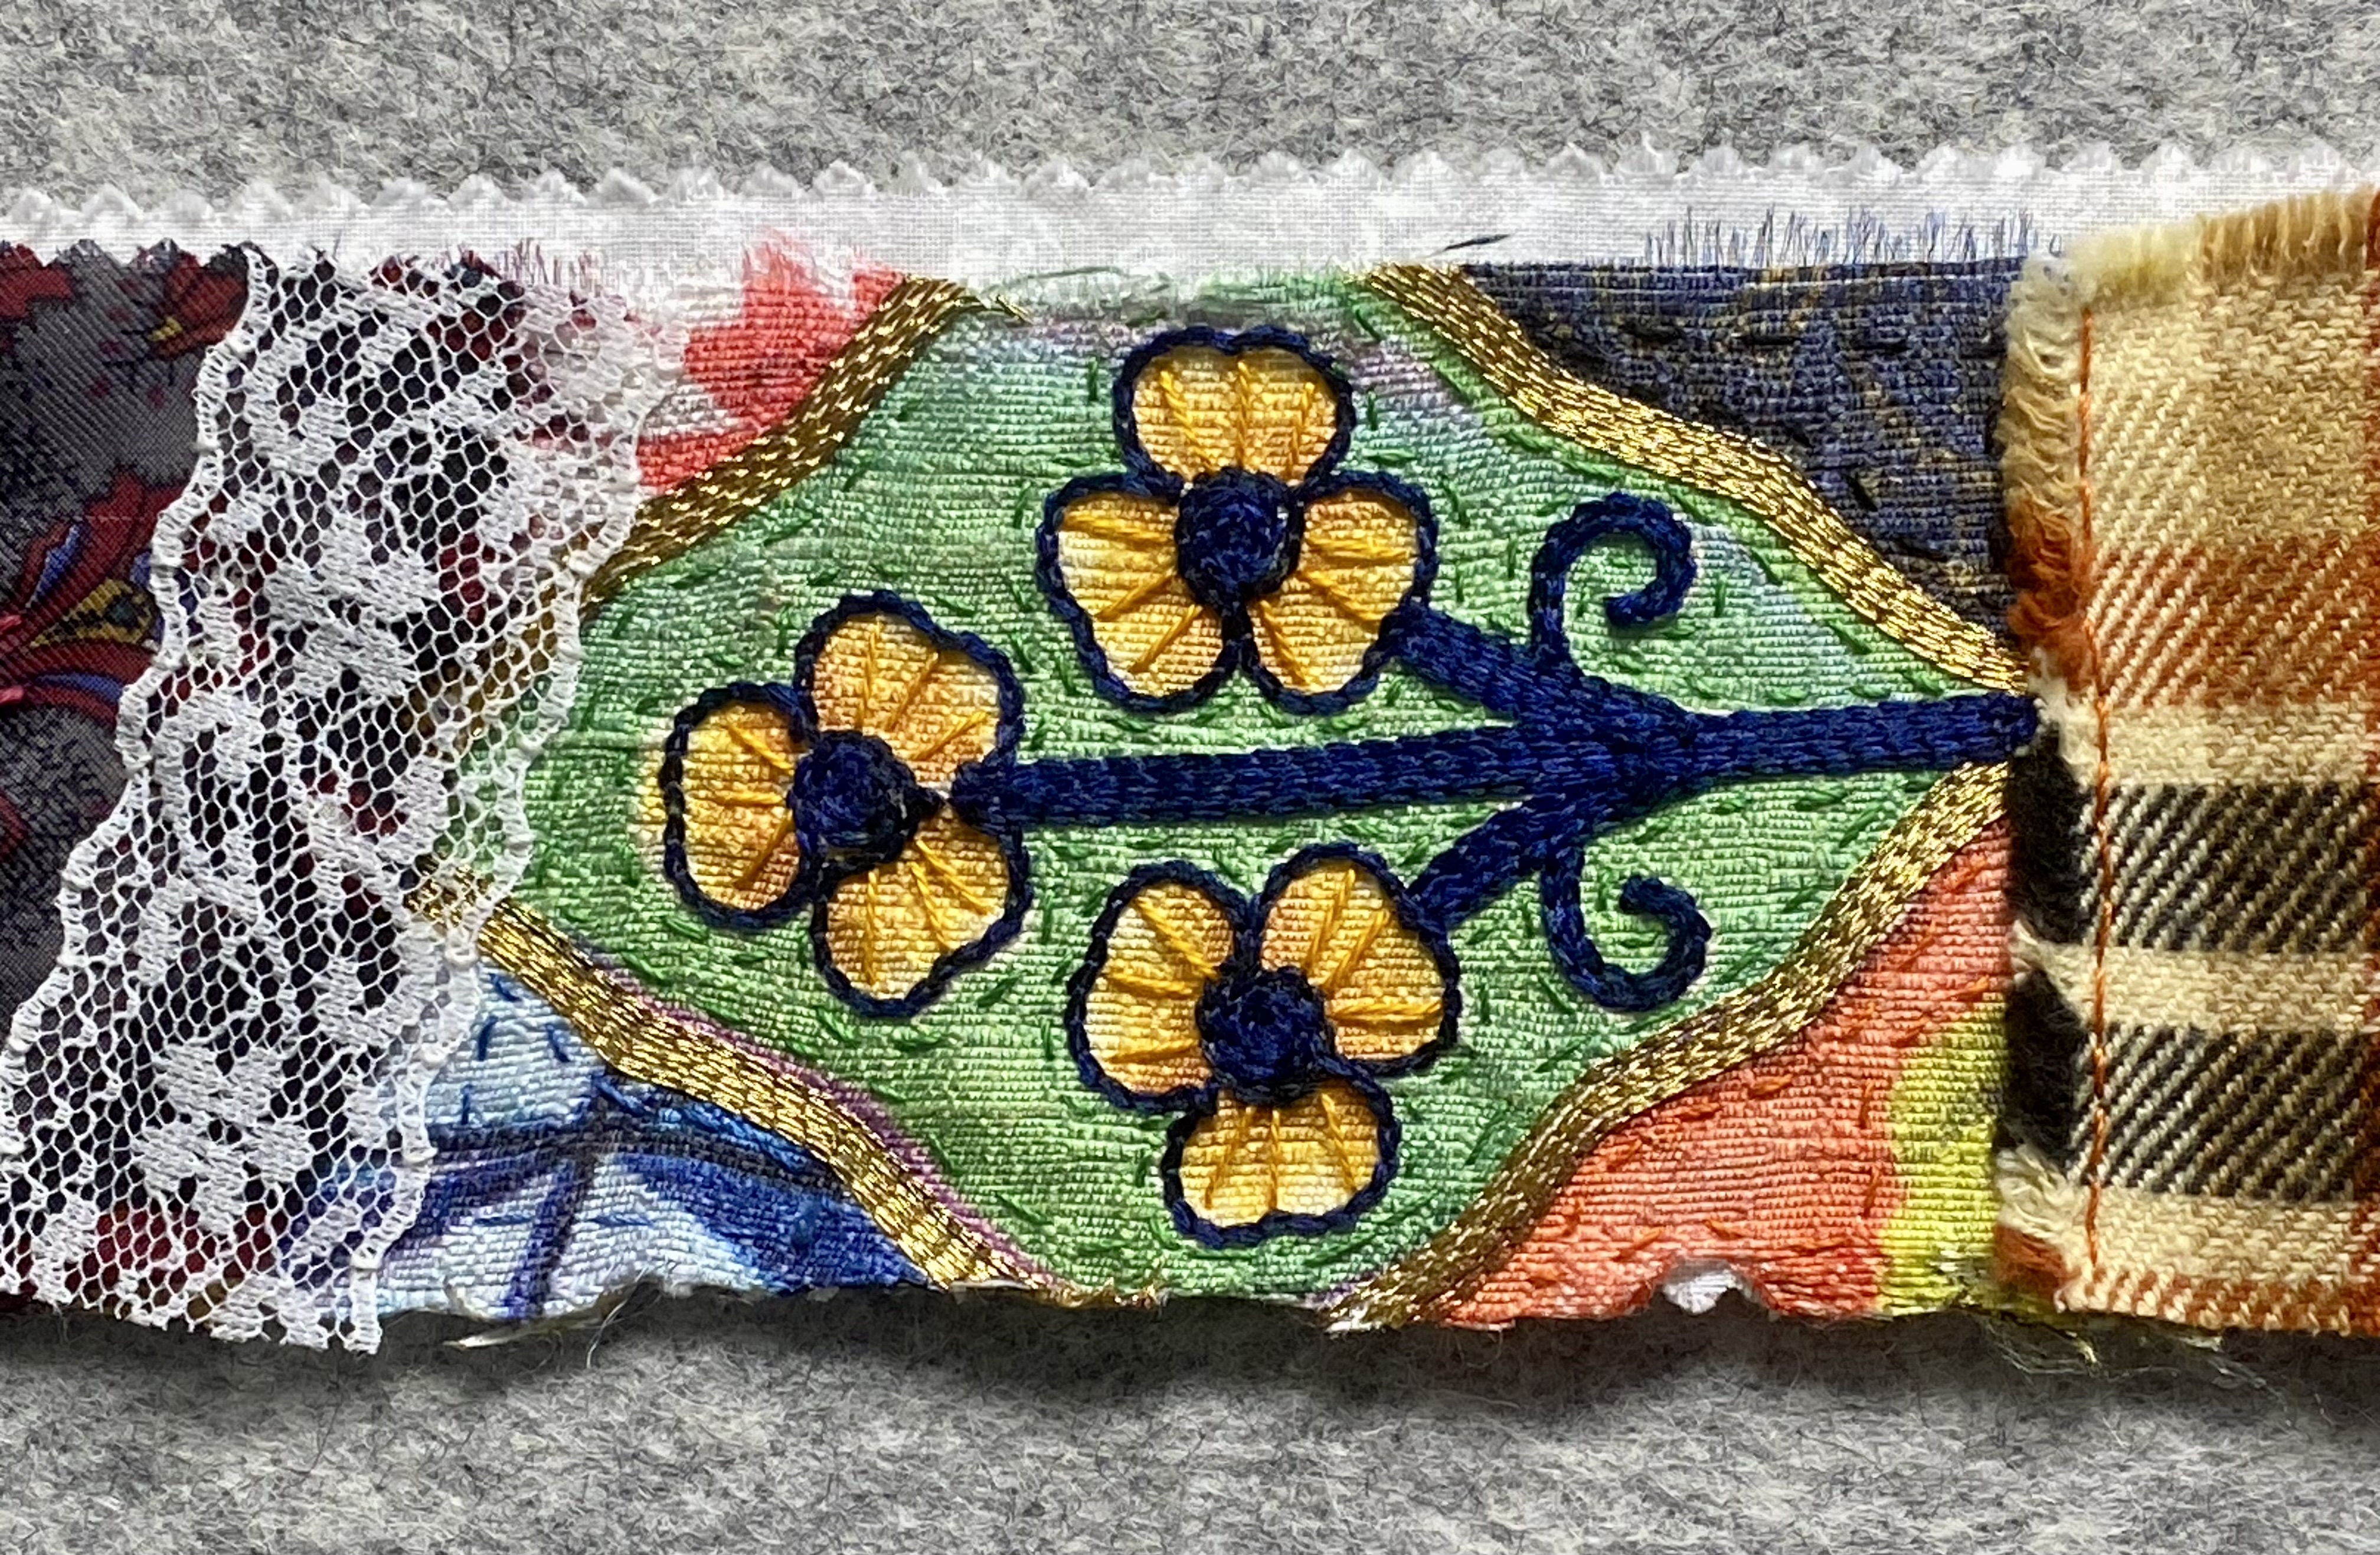
Each of these hearts are about 4" high and 3.5" wide. I use an eight inch length of ribbon for the hanging loops. The scrap fabrics are sewn to a scrap piece of batting and another scrap of batting goes between the stitched front and the felt I use for the back of the hearts.
The laces, appliques, and buttons are all salvaged from one source or another. I'm using only ribbons from my stash and the embroidery threads I have on hand.
The only elements that are new would be the occasional charm. However, they were not purchased specifically for this project.
Scrap Happy Day is hosted by Kate in Australia and Gun in Sweden. We post things we've been able to make out of scrap or recycled materials on the 15th of each month in our respective time zones. Current participants span the globe. If you'd like to join in next year just leave a comment with Kate or Gun. In the meantime, have a safe and happy holiday season!
Kate, Gun, Eva, Lynda,
Birthe, Turid, Susan, Cathy, Tracy,
Jan, Moira, Sandra, Chris, Alys,
Claire, Jean, Dawn, Gwen,
Sunny, Kjerstin, Sue L, Vera,
Ann, Dawn 2, Carol, Preeti,
Nóilin, Viv, Karrin, Amo, Alissa,
Lynn, Tierney and Hannah