Saturday, June 24, 2023

Stitching Slowly

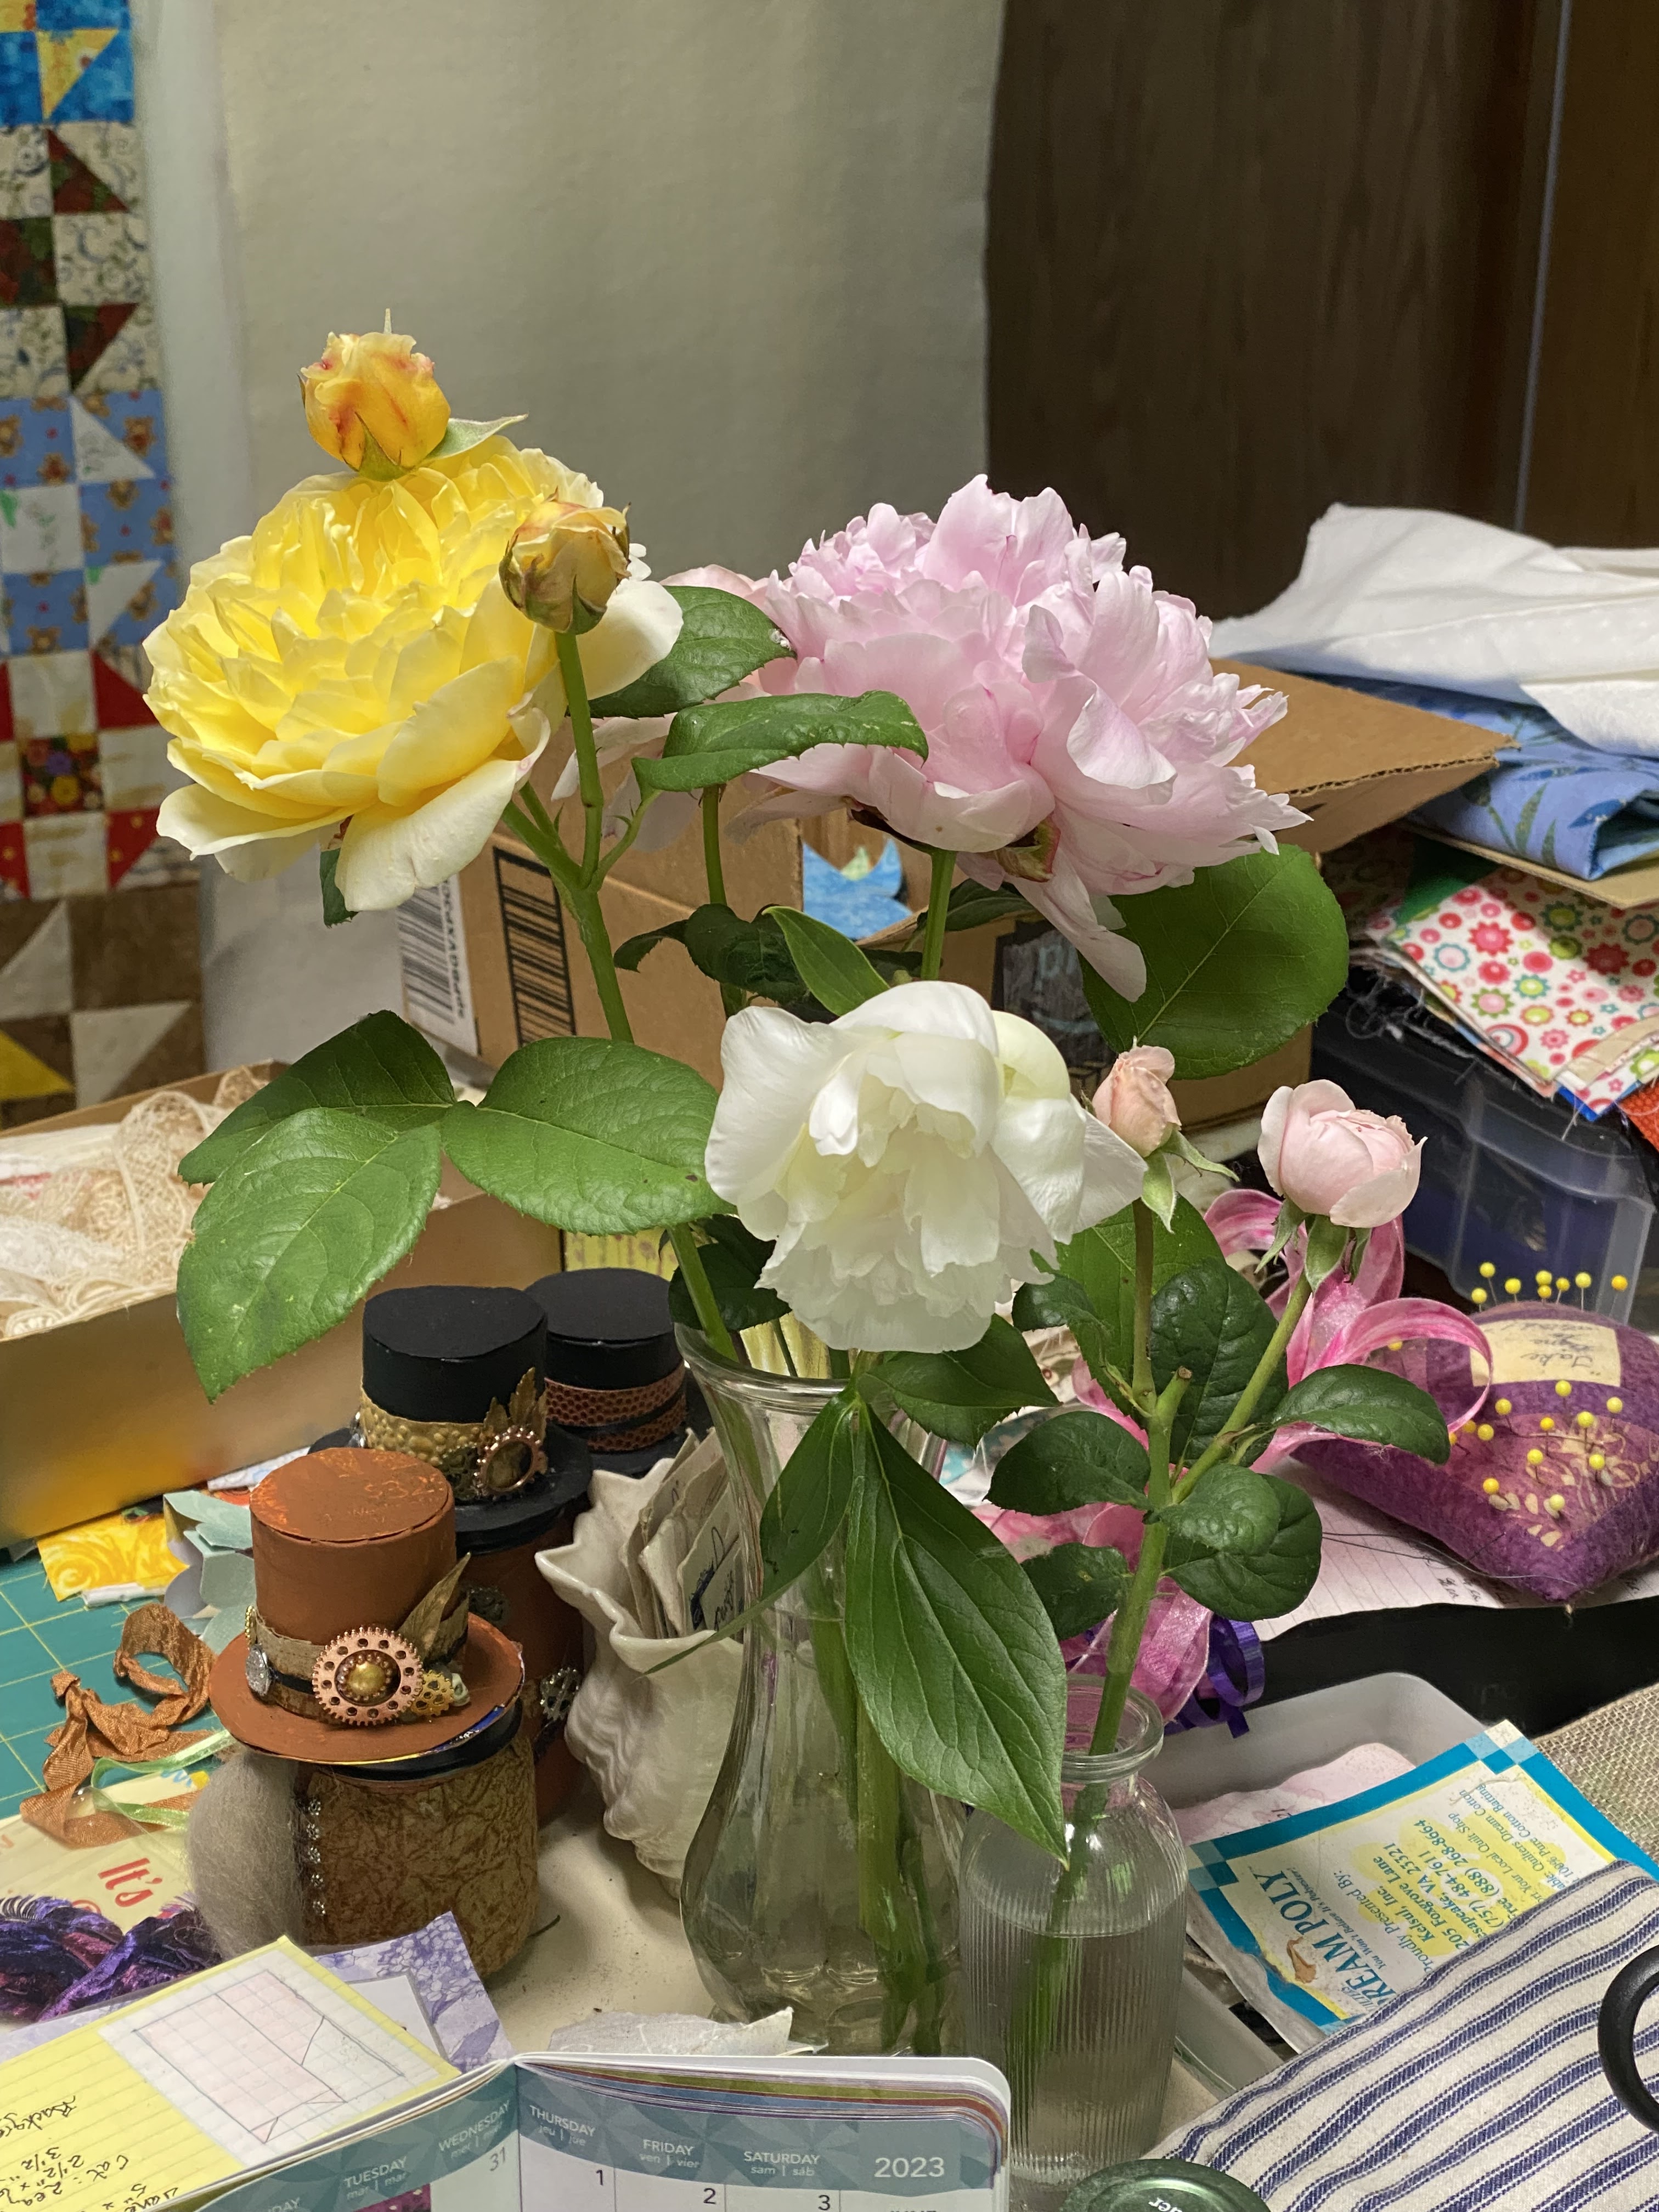
 It's that time of the year when the air quality is dangerous for me. We are not currently suffering from wild fire smoke in our area, thank goodness, but we have neighbors nearby who enjoy cooking in their back yards. And, in spite of the brief burn ban we were under, someone has been burning tree limbs or something. I don't go outside much at all. When I do go out to get the mail or deadhead the roses I wear an N95 mask. Sadly, that has not always been adequate of late. 

Aside from the immediate consequences of toxic smoke/fumes I am usually left with an inability to think constructively for a day or two. So, quilt making has pretty much come to a halt for the time being. On the other hand, the slow stitch movement has been a godsend. In my eyes slow stitching is simply hand quilting or even intuitive embroidery. The originators of the movement, as I understand it, were inspired by the stitching done by a variety of indigenous people around the world. The Japanese have boro stitching, the Indians have kantha stitching, Africans do kawandi. It's all rows and rows of running stitches, the simplest of straight stitches. Same stitch that's used for quilting the layers together to make a quilt. 

I've never been a particular fan of running stitch. I prefer the solid line you get with back stitch. Hand quilting held no appeal for me. (To do; I totally appreciate the hand quilting others do and have done.) Like most others, I began my needlework career by following the lines printed or transferred onto a piece of plain fabric. Eventually I moved on to printed or painted canvases for needlepoint. I've learned the basic embroidery stitches along the way. I was never one to get into the more complex forms of needlework. There are those who enjoy that level of effort, it's not for me. 

My take on slow stitching is more like freestyle or intuitive embroidery. It has been very helpful on days when I didn't have the brain power to build a quilt but needed something to do with my hands. A couple of the little stitcheries I showed in this post came out of a mindless start with scraps and thread. The world of art/junk journaling is also having an influence on me. All this is in explanation of the following. 

I'm not even sure what to call it actually. I began with a strip of muslin about 2" high and 36" or so long. My only thought was to strive for a boho vibe. I used scrap pieces of sari fabric and silks on top of the muslin and then embellished with bits of bling that seemed appropriate.

It has not been an easy thing to photograph. Hopefully, if you click on the pictures you can get a larger image to see the details.


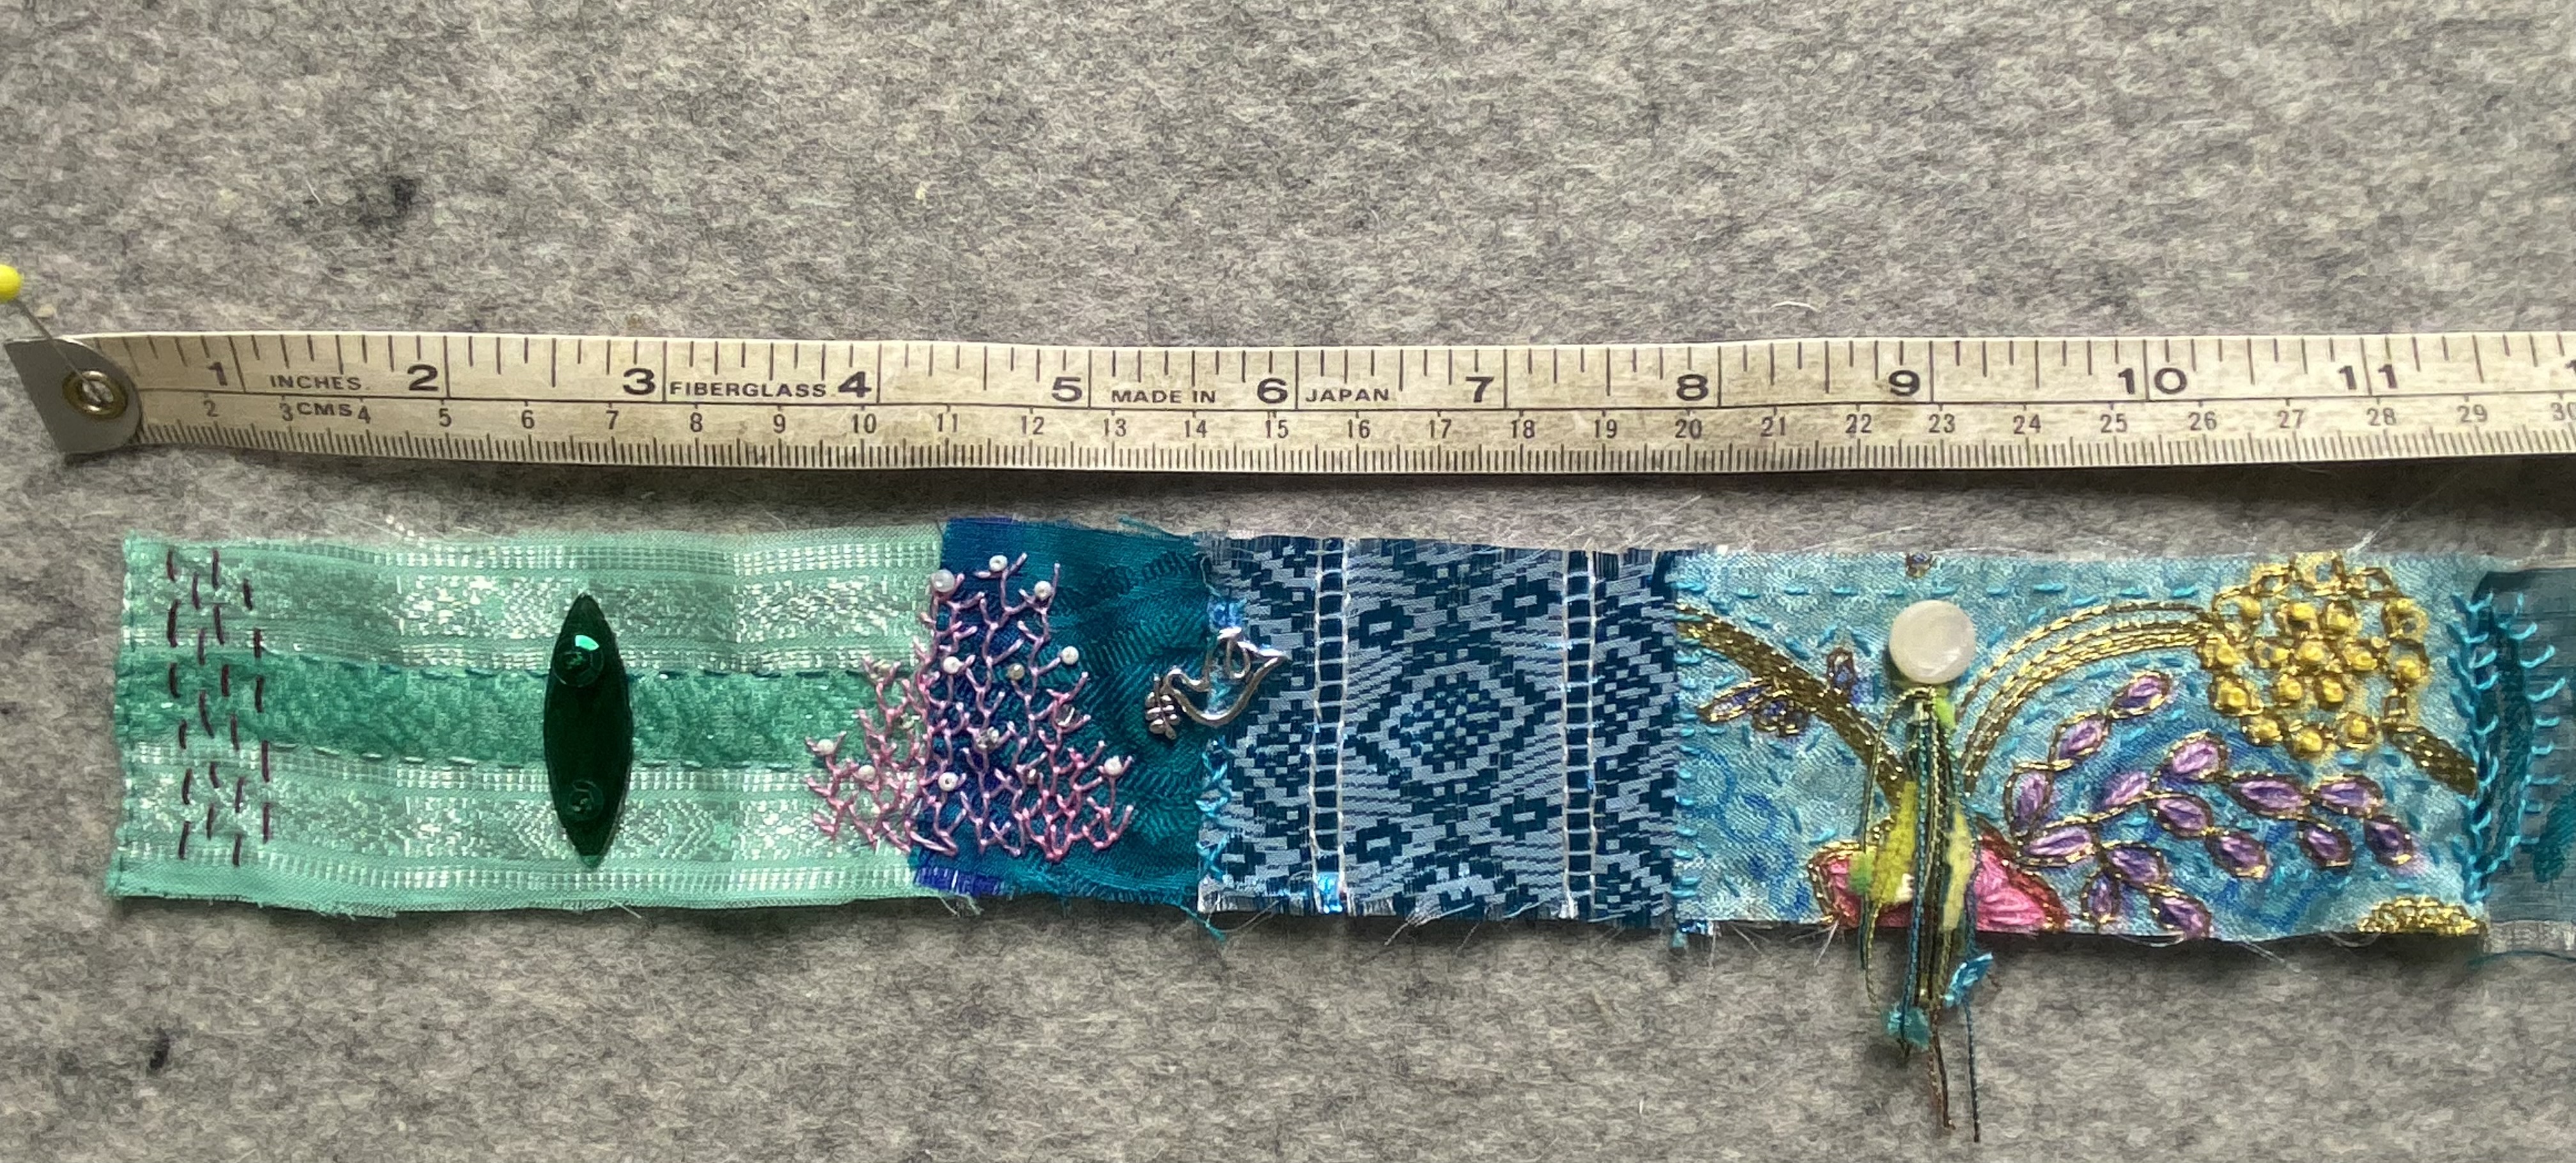
Oh, that multicolor piece with the buttonhole covered ring is a bit of a woven material. There are scraps of quilter's cottons on here too.

The butterfly is a sequin.

At the end is a fiber wrapped bead I bought in one of the Disabled Artists Foundation's auctions. I want to include it with the scroll/wrap but haven't quite figured out how yet. I need a spool or something to wind this around. My hope is that the bead could be used as a closure. The right spool has yet to turn up.

In the interest of full disclosure, here's the back of my work. I make every effort to be neat and hide the ends of my threads. Someone else might go to the trouble of putting a lining on something like this to protect the threads from snagging or other abuse but I can't be bothered. I've learned that sometimes folks like to see the back of the work. That's good enough for me! 


Wednesday, June 14, 2023

Scrap Happy in June

 Some time ago I sewed scrappy Broken Dishes (and one Pinwheel) blocks into this 18" medallion. 

At the time I couldn't figure out what to do next so it ended up in the UFO pile. More appropriately, it became inventory in the Parts Department. My pile of Un-Finished Objects consists primarily of failed attempts from long ago. Anyway, when I unearthed it and put it on the design wall I suddenly knew what the next step was. 

I found a light lavender in the stash from which I cut 3.5" strips for a frame to bring the medallion up to 24" square. A lot can be done with 24 inches: 3" units, 4" units, 6" and even eight inches. As you can see, I used scrappy flying geese from the Parts Dept., 3" x6", to down the four sides. Then I made the four patch blocks out of more scrappy patches to fill in the corners. Now the flimsy was 36" square. I felt the need of another frame, also three inches finished.

That pretty well used up the purple remnant. That stripe I used in the four patch blocks has been reduced to a narrow strip now too. 

But what to do with a 42" square flimsy? That took me a day or so to figure out. I decided to use more of my scrappy Shoo-fly blocks (6" finished) down the two sides to bring the top up to 54" wide. A final border of three inches will make it 60" wide, a size I think works well for children or adults.

It really helped to have Shoo-fly blocks with both light and dark backgrounds. The next question was what to do with the top and bottom edges. The star blocks I've been making recently came to the rescue.

These were made specifically for this project but they were all made out of more scrappy Shoo-fly blocks and smaller pieces of older prints from the stash. I even found fabric leftover from a previous quilt back to use for the final border all the way around the quilt.

It couldn't have been more suitable if I'd gone to a quilt shop and chosen it fresh off the shelves there! This top will now finish 60" wide and 72" long. There's been a significant reduction in my remnants and my Parts Dept. inventory over the course of the last couple of quilt tops. Feels pretty good! 

Here's the link list for other folks who regularly share how they have used or repurposed scrap materials. If you'd like to join us in posting your scrappy creations on the 15th of the month just leave a comment to that effect on Kate or Gun's blogs. 😊

KateGun, Eva, Lynda,
Birthe, Turid, Susan, Cathy,  Tracy, 
JanMoira, SandraChrisAlys,
ClaireJeanJon, DawnGwen,
Sunny, Kjerstin, Sue LVera, Edith
Ann, Dawn 2, Carol, Preeti,
DebbieroseNóilinVivKarrin,
Amo, AlissaLynn, Tierney and Hannah


Monday, June 12, 2023

In a Vase on Monday

 This is that glorious time of year when my roses and peonies (and the buttercups and vetch, etc.) are blooming. I take a picture nearly every week of the vase of flowers I've brought in but I don't often think to share them with you. A few years back I discovered Cathy's Monday meme, In a Vase on Monday. It's always a pleasure to see what others have grown and brought together in their vases. My backgrounds are never pristine, so I apologize for the clutter that may distract from my vase.

This is what I brought in this morning:

I have one each of my favorites. You can't really see the David Austin Queen of Sweden rose in this shot but that's the bush the rosebuds are from. The white peony is the last bud from that plant. The pink peony may very well be the last bloom from that one too. The big yellow rose is a David Austin Charlotte. 

Here's an overhead shot of the contents of the vase. Every time I take a good look at these flowers it puts a smile on my face. 

This is the bouquet I made late last week. Two of the white peonies, more Charlottes and Queens. 

If you'd like to indulge in more natural beauty hop on over to Cathy's blog and check out the links in the comment section. 😊