In this final week of December I have managed to make the last two entries for my 2024 Stitch Journal project. Between the holidays and other things I wasn't sure that would happen. It feels so good to have created a stitchery for every week of the year. In the past I would have fallen behind and dropped out well before December. I make no promises for any year in the future. 😉
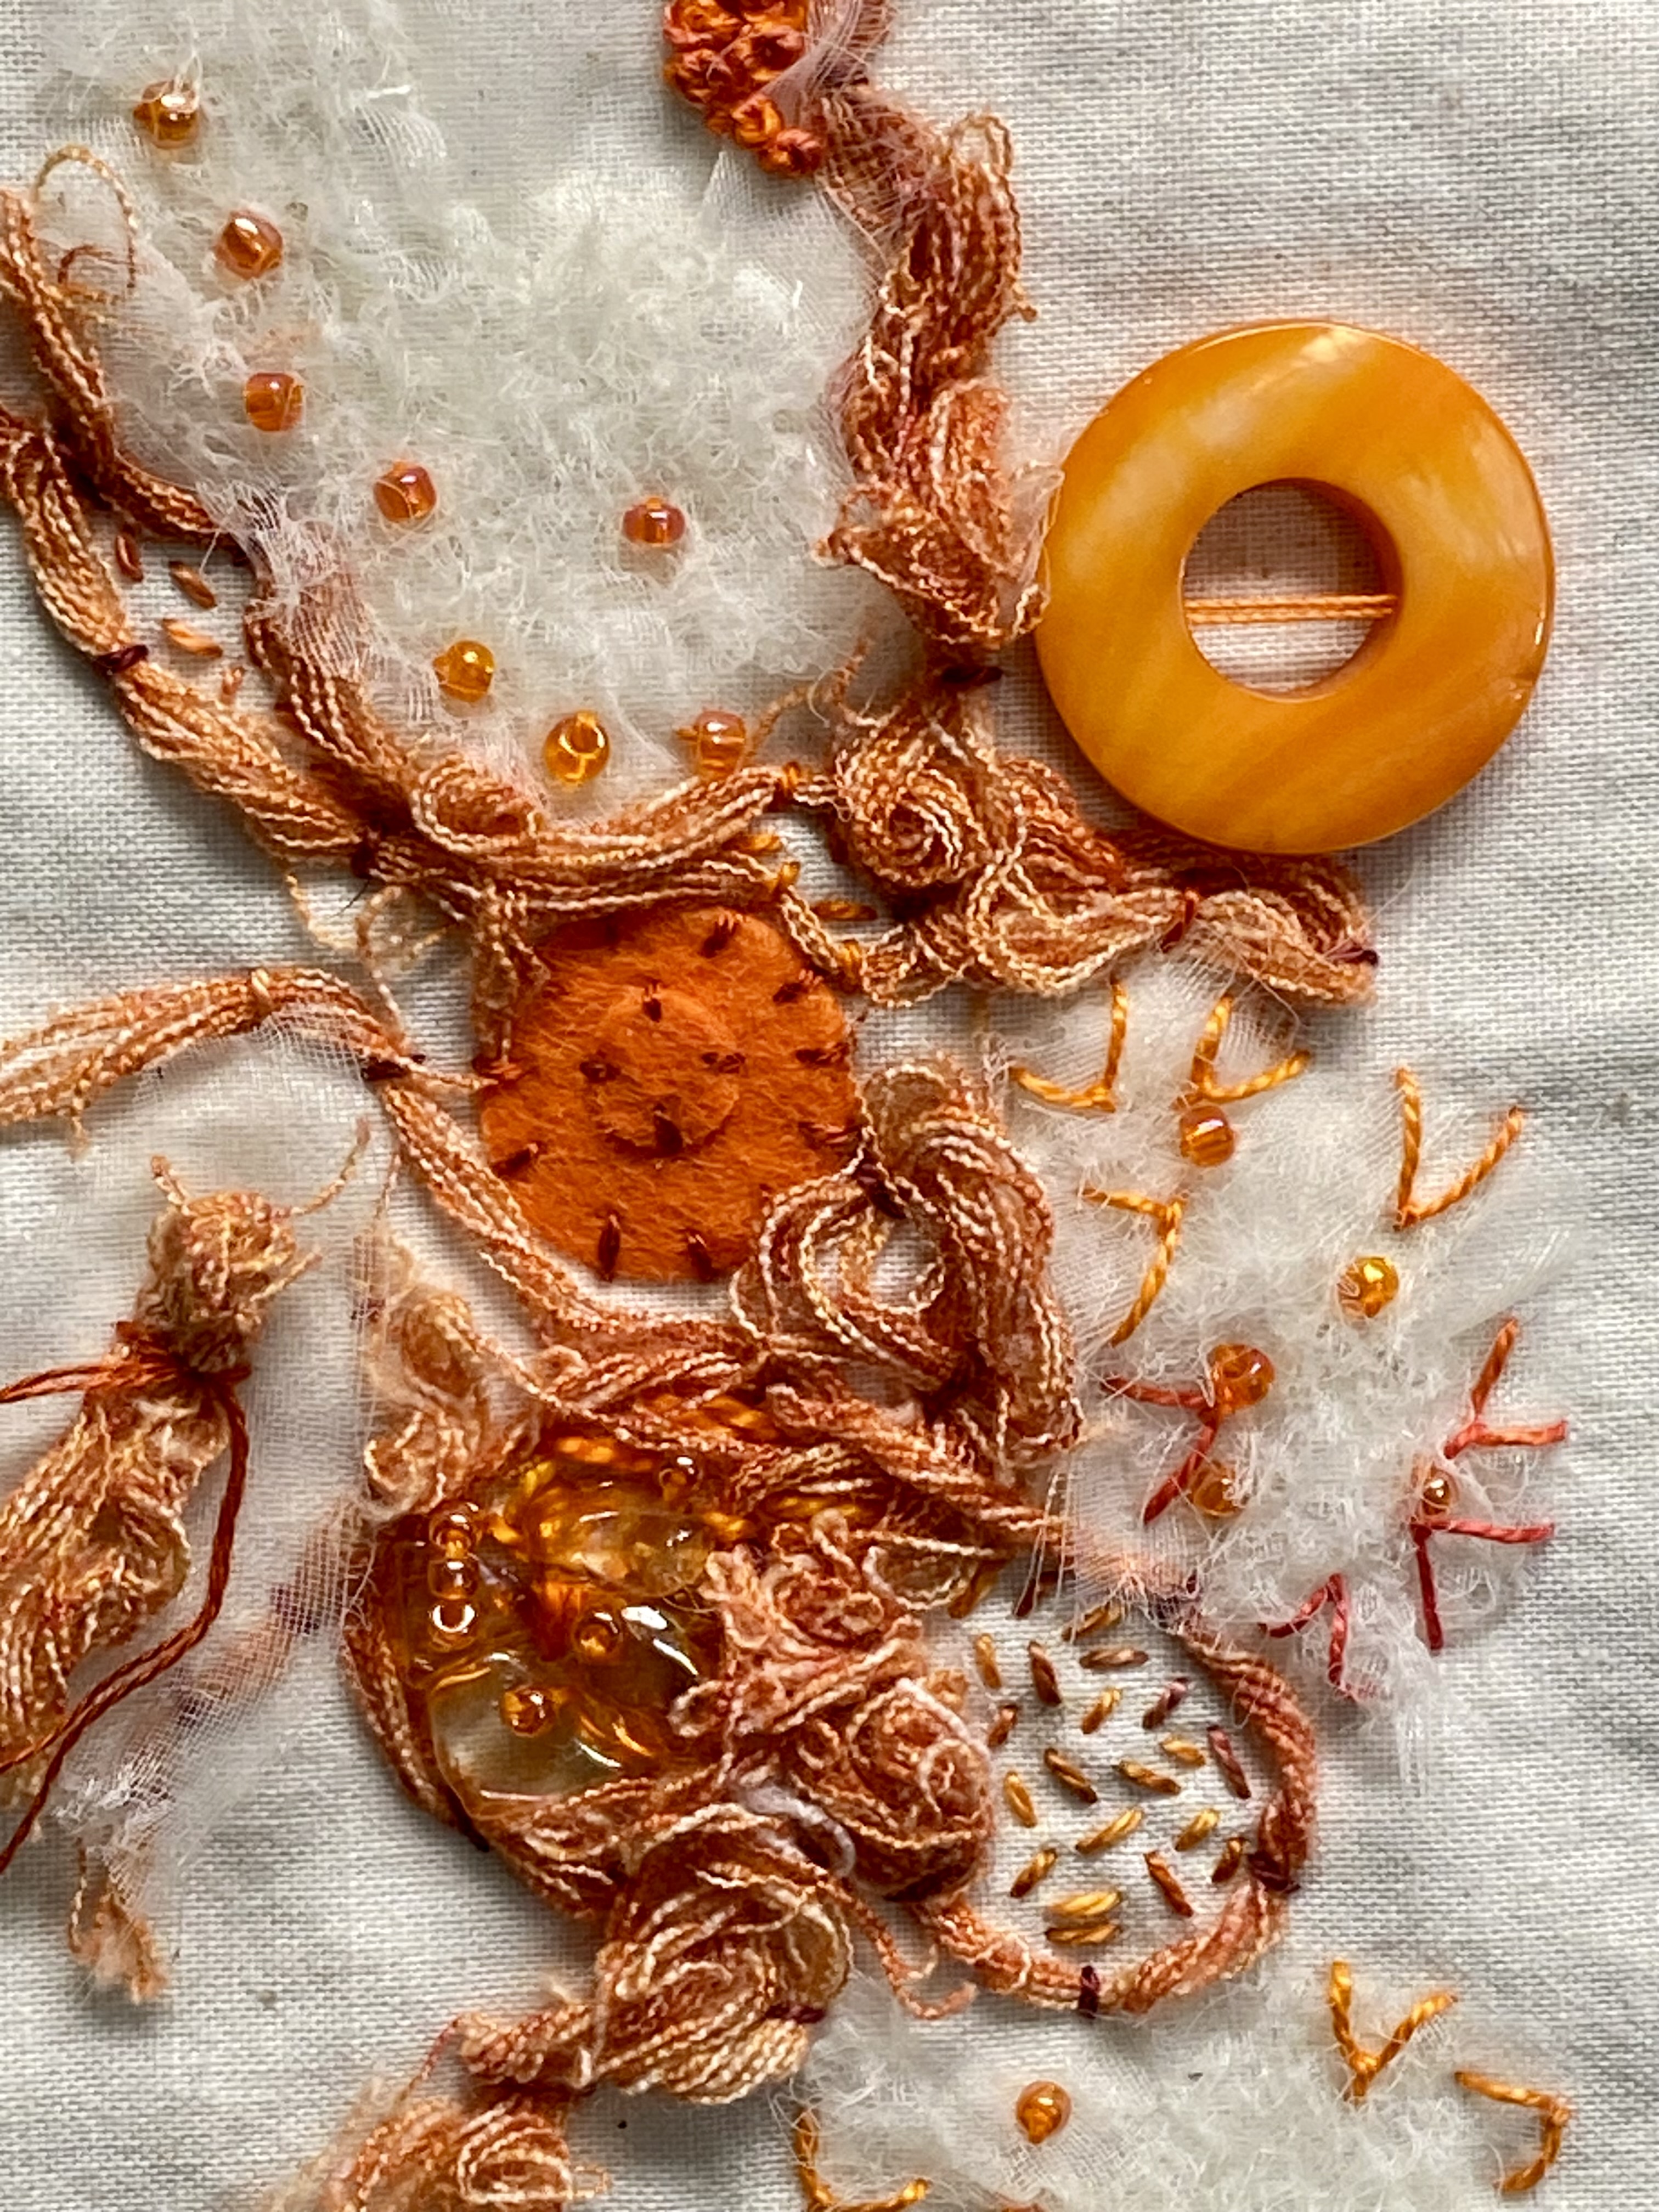
The first week of December Kathryn had us make assignments for each of the six sides of a die then roll the die and stitch accordingly. This was fun! My six options were couching, adding a patch, French or Colonial knots, chain stitch (or a variant), Spider web rose, and blanket stitch. In order I rolled a 4, 2, 6, 5, 1, 4, and 4 again. This is how it turned out:

I am quite pleased with this one.
For week 50 we were to stitch some text. I had so many ideas for what quote or thought to stitch that I couldn't decide what to do. This one languished until today (Dec. 31). Frankly, most quotes were long enough to be intimidating. This is how I got around that...

Week 51 was a stitched take on grid journaling. My journal pages are only six inches wide so my grid squares are only two inches each. Kathryn stitched her grid in black; I opted to just use a Micron pen to outline my squares.

And to wrap up the year Kathryn had us do some wrapping of textiles.

I wrapped a satin ribbon off a small box of chocolates I was given for Christmas, a strip of denim off of my husband's jeans (including a bit of the hem), a scrap of muslin, and a piece of batting. The batting is wrapped with a specialty yarn. The others were wrapped with various weights of perle cotton. There's also a gathered/ruched piece of lightweight fabric (the bow?). If I hadn't felt the crunch of time I might have done more decorative stitching in the background on this piece and on the stitched text piece.
Kooky's postcard prompt for December was Happy Holidays.

Once I found the "gifts" in a piece of quilter's cotton I had a lot of fun creating this one. 😀
I'm currently thinking I will keep doing Kooky's postcard stitch along next year. However, I think I want to do more of my own work rather than whatever Kathryn has up her sleeve for 2025. There are quilts to be made too of course!
I wish all of my readers the very best in 2025. Happy New Year!