Showing posts with label Parts Dept.. Show all posts

Friday, April 18, 2025

Welcome Blanket Quilt

 I admit that I composed the layout for the Welcome Blanket in haste and not at the top of my game.This is what I put up for Scrap Happy Day:

Since then I have tweaked the block placements just a bit.

And today I have added the border that will finish at two inches, making the quilt top 40" square.


It's kind of busy but I think it works. Not only has this small quilt given me the opportunity to use blocks from the Parts Department and some scrap batting, I was able to use another remnant for the border strips. It's been fun to complete a quilt top so quickly. That's all kinds of success! 😁
 

Thursday, April 10, 2025

Coming Up for Air

 Jinxxxygirl (Deb) has pointed out to me that it's been a while since my last post. She's right! I hadn't realized so much time has passed. I've been head-down in the scrap pile all this time. Well, except for the times I've been down with a headache or what have you. 

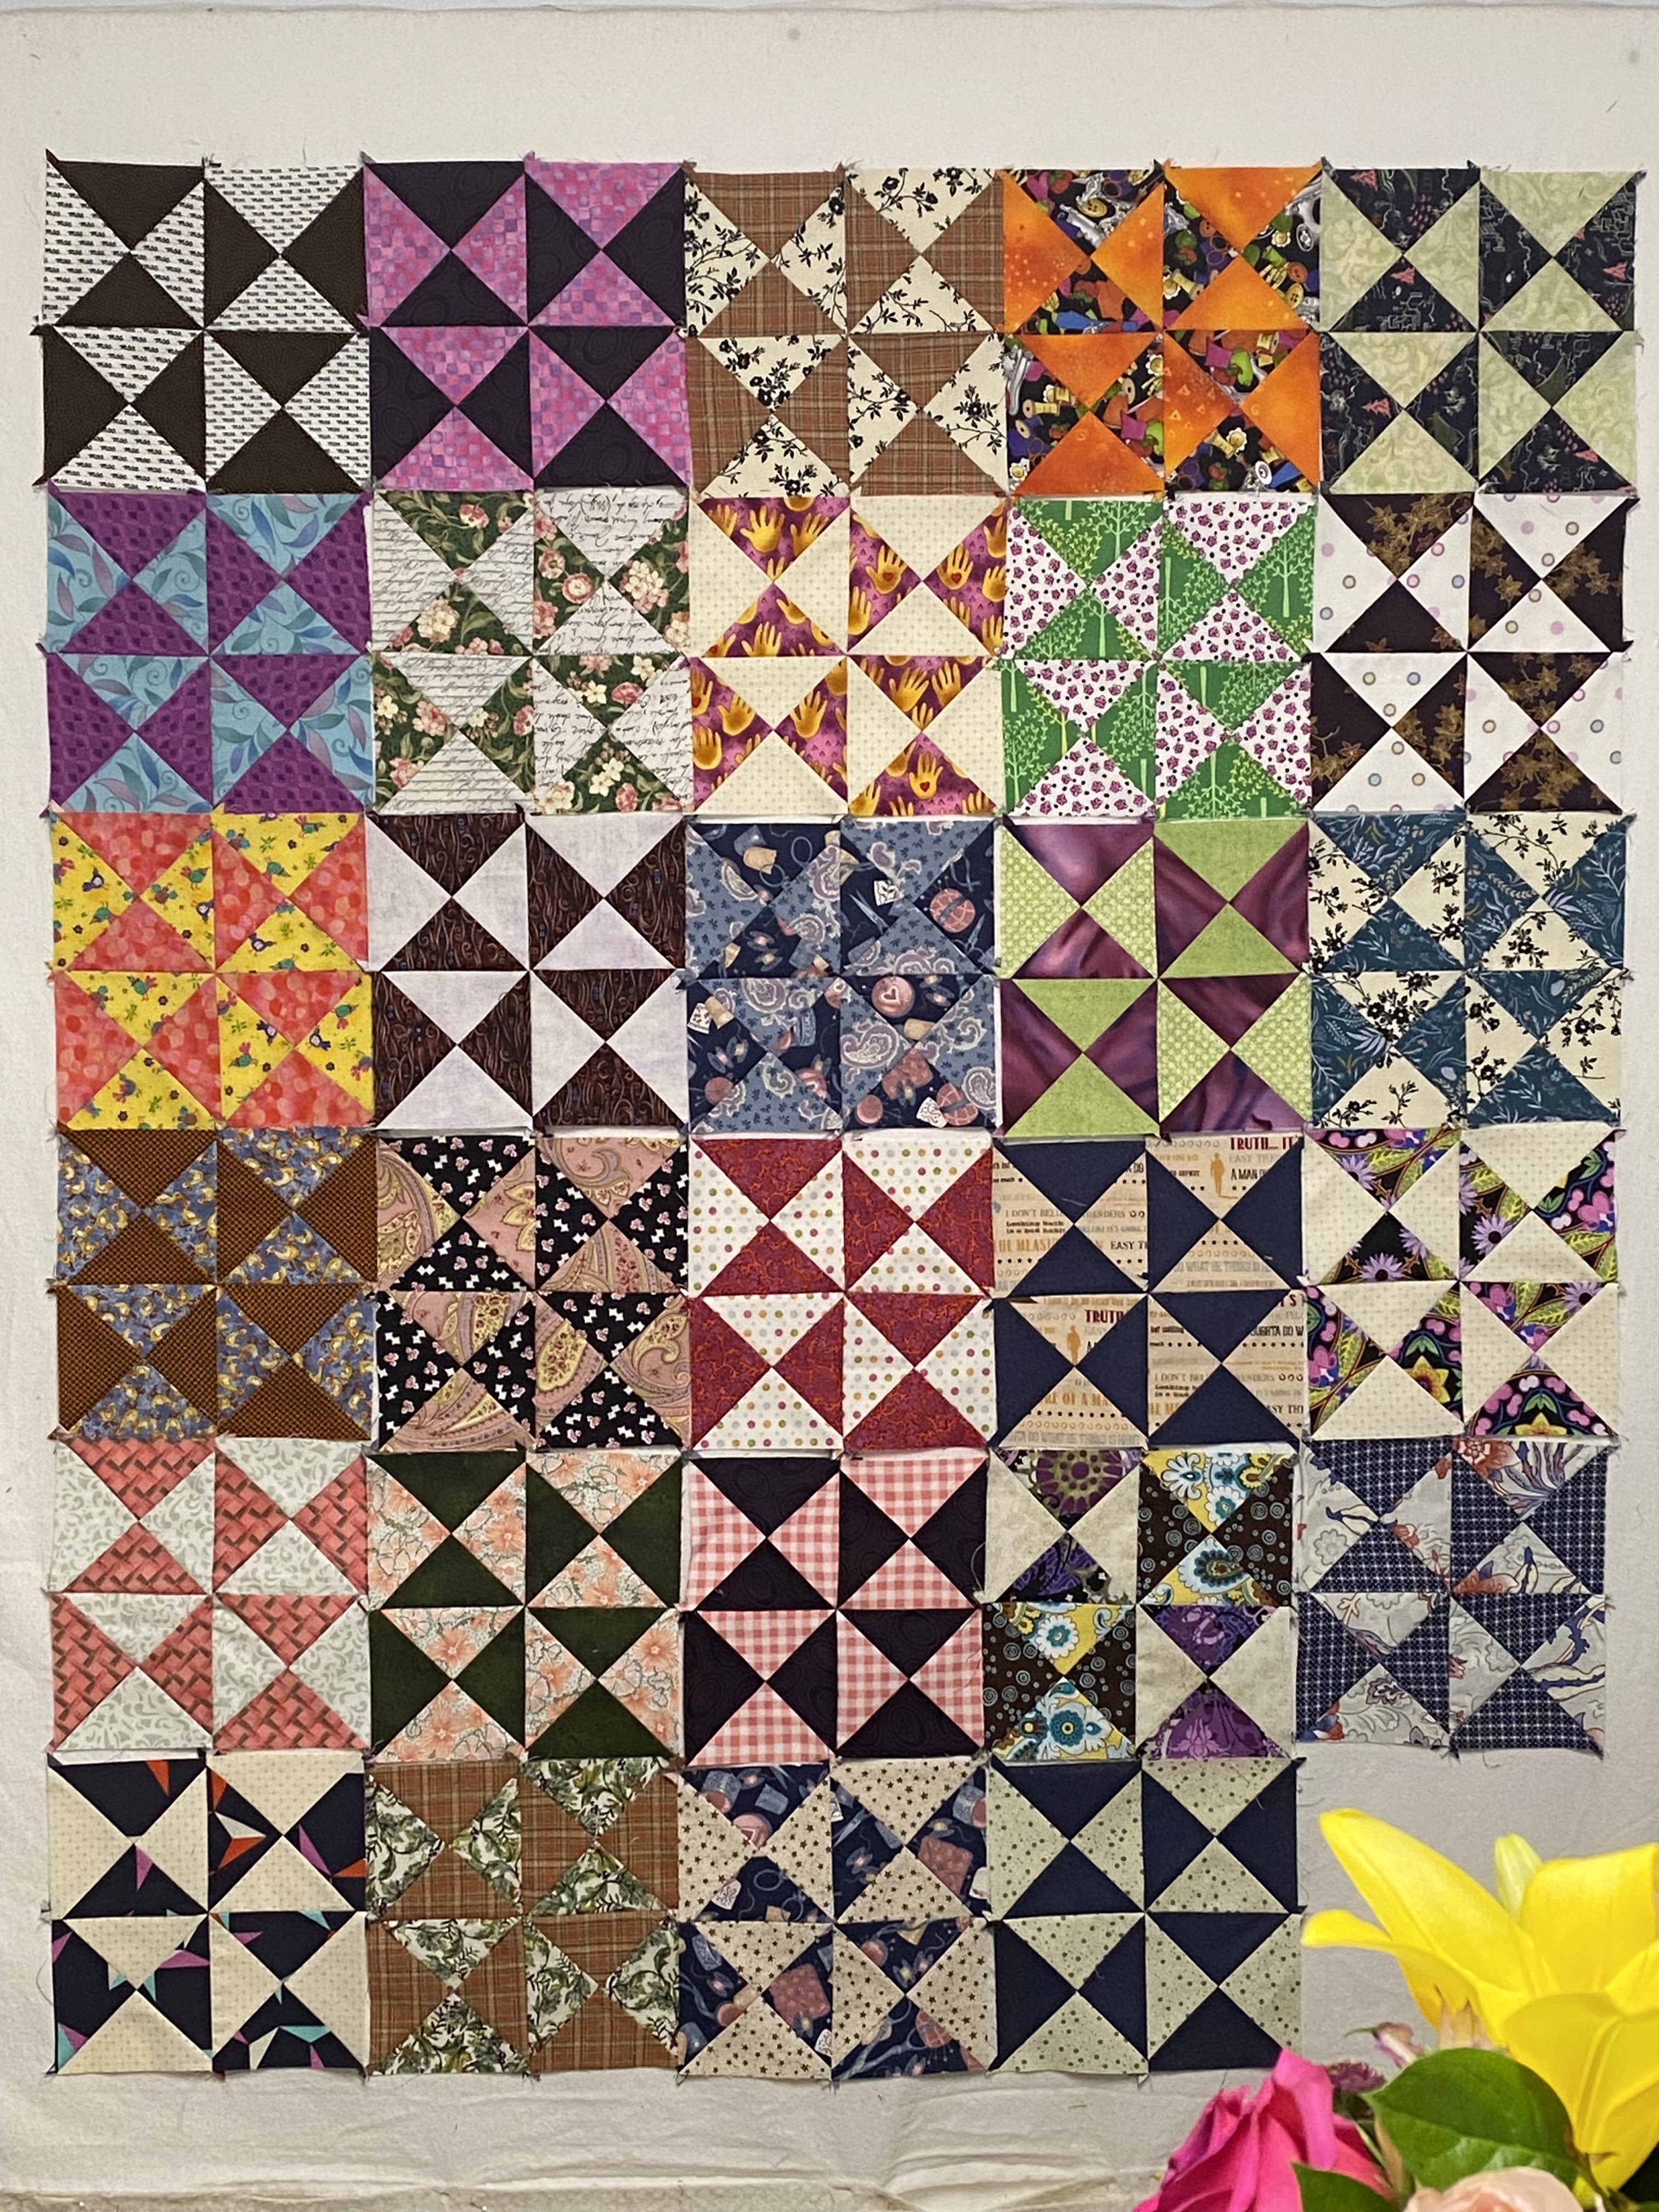
I developed a menu of sorts for attacking the larger scraps in the stash. I begin by cutting a 7.25" square that I cut diagonally twice for flying geese. If that print is also appropriate for backgrounds in the flying geese units I'll cut 3.875" half-square triangles. (I still use the methods I learned at the beginning of my quilting career.) That takes up about 16" of length. Then I cut two 5.25" squares for the 4" (finished) Hourglass units that become 8" Hourglass/Big Dipper blocks. Next I cut pieces for the Janet Kime cat blocks. On occasion I've been able to cut background pieces for 8" variable Star blocks or a 4.5" patch for the center of a star. To polish off the fabric I'll cut 2.875" HSTs and 2.5" squares or rectangles for 6" Shoo-fly or Hole in the Barn Door blocks and 2" wide bits for Lego blocks. All of these patches get set aside until there are enough to begin pairing up backgrounds and foregrounds. 

I have quite the flock of flying geese now. More than enough for another version of the Remixed Geese quilt pattern. However, I don't have a recent photo of them.

I should now have 46 of the Hourglass/Big Dipper blocks. I'm shooting for 63 for the quilt plan I have in mind.


 More than that will allow for some to be eliminated from the final layout. And, of course, the plan may change at any moment! 

 I have no idea how many stars there are in various bags and boxes in the Parts Department. The postage stamp stars are separate from the whole cloth center stars, and I even have a separate bag that holds the stars on white-on-white backgrounds. Sometimes organizing can be carried a step too far. πŸ˜‰ 

The pile of patches for cats is a bit intimidating. I've cut background patches, but not nearly enough for all of the cats. There's probably a whole other quilt in that pile. 

Scrap Happy Day is just around the corner. What I will have to share on the day?

Saturday, March 15, 2025

A New Addition to the Parts Department - Scrap Happy in March

 Now that I've lightened the load in my Parts Department I have turned my attention to using up more of the leftovers and remnants hanging around. I began with flying geese. This seems to be my Flying Geese Period. πŸ˜‰ If you remember, recently every scrap block was a variable star!

3" x 6" geese

 Anyway, I found myself needing another block to use up certain size scraps. I landed on one called Big Dipper. 

I can't figure out why or how it came to be called that. I don't see a connection at all. If anyone knows of an alternate name please let me know! I may just refer to them as Hourglass blocks since they are made up of four hourglass units. The ones I'm making will finish at eight inches square.

 This is what I have so far. At the moment I'm thinking I will just keep making these until I have enough for a whole quilt top. I don't think they will play nicely with other blocks unless I use sashing between them. I prefer to just run my blocks together as often as I can get away with it.

Meanwhile, the geese continue to accumulate too. My smaller scraps get cut for 6" Shoo-fly or Hole in the Barn Door blocks and Lego blocks. The scrappy quilts I make go to local kids in foster care or are sent to Wrap the World With Quilts for distribution elsewhere. 

Scrap Happy Day is an opportunity to share projects that have been made out of scrap materials or something you've repurposed somehow. We post on the15th of each month. Kate is the organizer of this blog hop; you'll find her at the top of the link list below. Leave a comment on her blog if you'd like to participate in the future. 

KateEva, Lynda,
Birthe, Turid, Tracy, Jan
Moira, SandraChrisAlys,
ClaireJeanDawnGwen,
Sunny, Kjerstin, Sue LVera, 
Ann, Dawn 2, Carol, Preeti,
Viv, Karrin,  Alissa,
Hannah and Maggie


Saturday, November 23, 2024

Black and White Flimsy

 This collection of black and white blocks from the Parts Department...


Grew into this assortment of blocks.


Which then became this 60" square flimsy.


Whenever I can I enjoy including little surprises into the blocks I make.


I find it challenging to create backs for quilts smaller than my usual 60" s 80." For some reason, I can wrap my brain around piecing a quilt block but not when it comes to a quilt back. So I'm quite proud of myself for figuring out a giant 4 Patch block to back this quilt. 

detail shot of the center of the back
 

 I had a little over one yard of the two white prints and just enough of the black to pull this off. And now I have less yardage in my stash but more scraps. This won't be the last black and white quilt coming out of The Magpie's Nest!


Friday, November 15, 2024

Scrap Happy in November

 I wanted to be making a quilt but had no motivation to start a new project from scratch. Parts Department to the rescue! I pulled out eight and nine inch blocks, figuring that they would make rows just under 60" each. There are 8" variable stars, 9" wonky or liberated stars, 9" Shoo-fly blocks, and 9" Hole in the Barn Door blocks. (They don't show up in the photo below.)

 They really are a random lot. That's all the wonky/liberated stars I had, and I think the Shoo-fly and Hole in the Barn Door blocks are all gone in that size too. 

 As you can see, I used a tone-on-tone blue for sashing between the rows and as compensating strips at the ends of the rows to bring them all out to 60" wide.

 This is the completed top. The quilt will be about 60" x 80" when it's finished. Not my most original or creative use of random blocks but it got the job done. Someone will now have a warm, colorful quilt to snuggle in and perhaps be entertained by. 😊

You can see how others have used their scrap materials or repurposed something that might have been thrown in the trash by following the links below. Enjoy!

KateGun, Eva, Lynda,
Birthe, Turid, Tracy, Jan
Moira, SandraChrisAlys,
ClaireJeanDawnGwen,
Sunny, Kjerstin, Sue LVera, 
 Ann, Dawn 2, Carol, Preeti,
NΓ³ilinViv, Karrin, Alissa,
Tierney, Hannah, Maggie

Saturday, November 9, 2024

Black and White

 For a while now I've been thinking about another black and white quilt. No specific plan came to mind so I rummaged through the Parts Department to see what turned up. There are blocks in almost every size from 6" to 12." I put the 8", 10," and 12" blocks up on the design wall. In full disclosure, there were a few 4" units that I combined to turn into 8" stars.


 I have begun using 6" Shoo-fly blocks as the centers for 12" variable star blocks. At the moment I'm thinking I'll make a total of 25 blocks. The 10" Churn Dash and 8" stars will be framed up to 12."

 Setting 25 blocks 5 x 5 will give me a 60" quilt top. I've found that to be a useful size for a child or an adult. What you see here is only a tentative arrangement. No doubt there will be tweaks as new blocks are added to the mix. 😊

Thursday, February 15, 2024

Scrap Happy in February

When I'm cutting scraps into patches the smallest shapes I cut are 1.5" squares. They are what I use to make the postage stamp centers for some of my scrappy stars. 

I have a little box into which the squares fit nicely. Until there are too many to fit into the box that is. They have been accumulating in recent months to the point that I had five stacks of squares on top of the packed box. You can imagine how they were toppling over at the least provocation. Obviously it was time to do something with them. 

I began by making postage stamp blocks from each color family. I find it's easier, more efficient, to make a pair of blocks at a time. That way I can chain sew until both blocks are complete. The downside to this method of working is that it can be hard to stop, especially when the blocks are small. It's rather like eating potato chips. Over a few days I had these 18 blocks made...

As well as this lot of fifteen that have light patches alternating with dark.

It's easy to get the seams to nestle in place when you can simply finger-press toward the dark patches. Once the blocks are complete I go to the ironing board and press the long seams open to get the blocks to lay flatter. It's a little tedious but worth it in the end.

The towers of squares have disappeared and there's actually room in the little box for new squares to be added. Now I just have to decide what to do with all these 4.5" postage stamp blocks!

Scrap Happy Day is hosted on the 15th of each month by Kate in Australia and Gun in Sweden. Participants span the globe, posting according to their own time zones. If you'd like some motivation for using up scrap materials taking up space in your nest leave a comment on either of their blogs. Theirs are the first two links in the list below. And then be inspired by what's being done to recycle, repurpose, or otherwise keep things out of landfills around the world. 😊

KateGun, Eva, Lynda,
Birthe, Turid, Susan, Cathy,  Tracy, 
JanMoira, SandraChrisAlys,
ClaireJeanDawnGwen,
Sunny, Kjerstin, Sue LVera, 
Ann, Dawn 2, Carol, Preeti,
NΓ³ilinVivKarrin, Amo, Alissa
Lynn, Tierney and Hannah


Wednesday, April 5, 2023

Batty for Halloween

 I have not been having the best of times lately. However, I have been able to put more of my Halloween print scraps to good use. I had a 12" x 12" storage box full to the brim with bits and remnants, mostly of the more juvenile and/or whimsical type of prints. I'm pleased to report that I've reduced that quantity by as much as 80%! Of course, more scrap patches and strips were created in the process. That seems to be the way of scraps. 

I began with an odd assortment of blocks from the Parts Department.

There were a handful of 6" blocks, a couple that would finish at 12," but most of them were 9" blocks. There were some smaller parts too, which I was able to build up to nine or twelve inch blocks. Not to mention the scraps and remnants to make additional blocks.

I figured I'd frame up the 9" blocks to 12 inches. That was accomplished with strips and squares that finished at three inches. Because of the nature of the prints I knew this would be a child's quilt so I only planned for twenty blocks. A horizontal format seemed to work the best for arranging the blocks. 

It was really fun to fussy cut some of the images I found in my prints. I worried a bit over whether I would have enough of something appropriate to use as a final, outer border to frame up this busy top. 

A Moda Marble Swirls in jet black was perfect, and I had just enough for the narrow border and the binding. This quilt will finish at about 64" wide by 52" high. I even used up some old yardage to make the back. 😁 Now it's time to see what I can do with the smaller patches that remain...


Wednesday, February 8, 2023

Happy 9 Patches

 In my ongoing effort to reduce inventory here in The Magpie's Nest I pulled out all the blocks that would finish at nine inches. 

As you can see (top to bottom), there were Hole in the Barn Door blocks, Shoo-fly blocks, a few 9Patch blocks, and liberated or wonky stars. But not enough that I felt I could do anything useful with what I had. The obvious solution was to make more blocks of one sort or another. My tin of 3.5" scrap squares has been in danger of overflowing onto the floor for some time so I decided to make more 9Patch blocks. I was able to make so many that I had enough for a scrappy 9P quilt!

This flimsy at this stage would finish at 54" square. I chose to add a 3" border all the way around, bringing the top up to 60" square.

I was happy to find a use for this print that I love but that hadn't yet found a home. I think it ties everything together well. I was also a bit surprised to see how many other purples there were in the scrap blocks!

There were quite a number of juvenile/novelty prints in my scrap tin. They quickly became the focus of my efforts when choosing the patches for each block.

There are still plenty of 3.5" squares to use in another project or other blocks but at least I've made room for some new additions. And saved myself the task of tidying up the floor after a scrapalanche. πŸ˜‰

I tried to build a back for this quilt out of yardage on hand. That didn't go so well. Why do I find it so easy to make blocks and build quilt tops but have such a struggle with creating the back for a quilt out of assorted pieces of yardage?! In the end I purchased a wide back in more purple. I figure this will go to a child somewhere, so I wanted to avoid lighter colors that would show dirt and wear more quickly. I expect there will be enough of the backing fabric to also bind the quilt. No doubt there will also be plenty of leftovers to cut into more scrap patches!


Thursday, January 26, 2023

Three Quilts and a Flimsy

 I've been having issues with Blogger the past few days. You'd have been seeing these results sooner otherwise! 

You've seen all of these quilts previously but they have now been bound and laundered and are ready to head out of The Nest. First up, a quilt begun for a Scrap Happy Day effort, Scrappy Strips:

This was quilted by James with a neon green thread in a meandering path. It finished at 58" x 76 inches.

Next up is the yellow and black quilt. It finished at roughly 60" square.

James quilted with a large, open scroll in yellow thread.

The third quilt also finished at just under 60" square.

This one gave James the opportunity to do some outline quilting in the panels. That made for a nice change of pace for him. 😊

Can you even tell he outlined the birds on a branch?

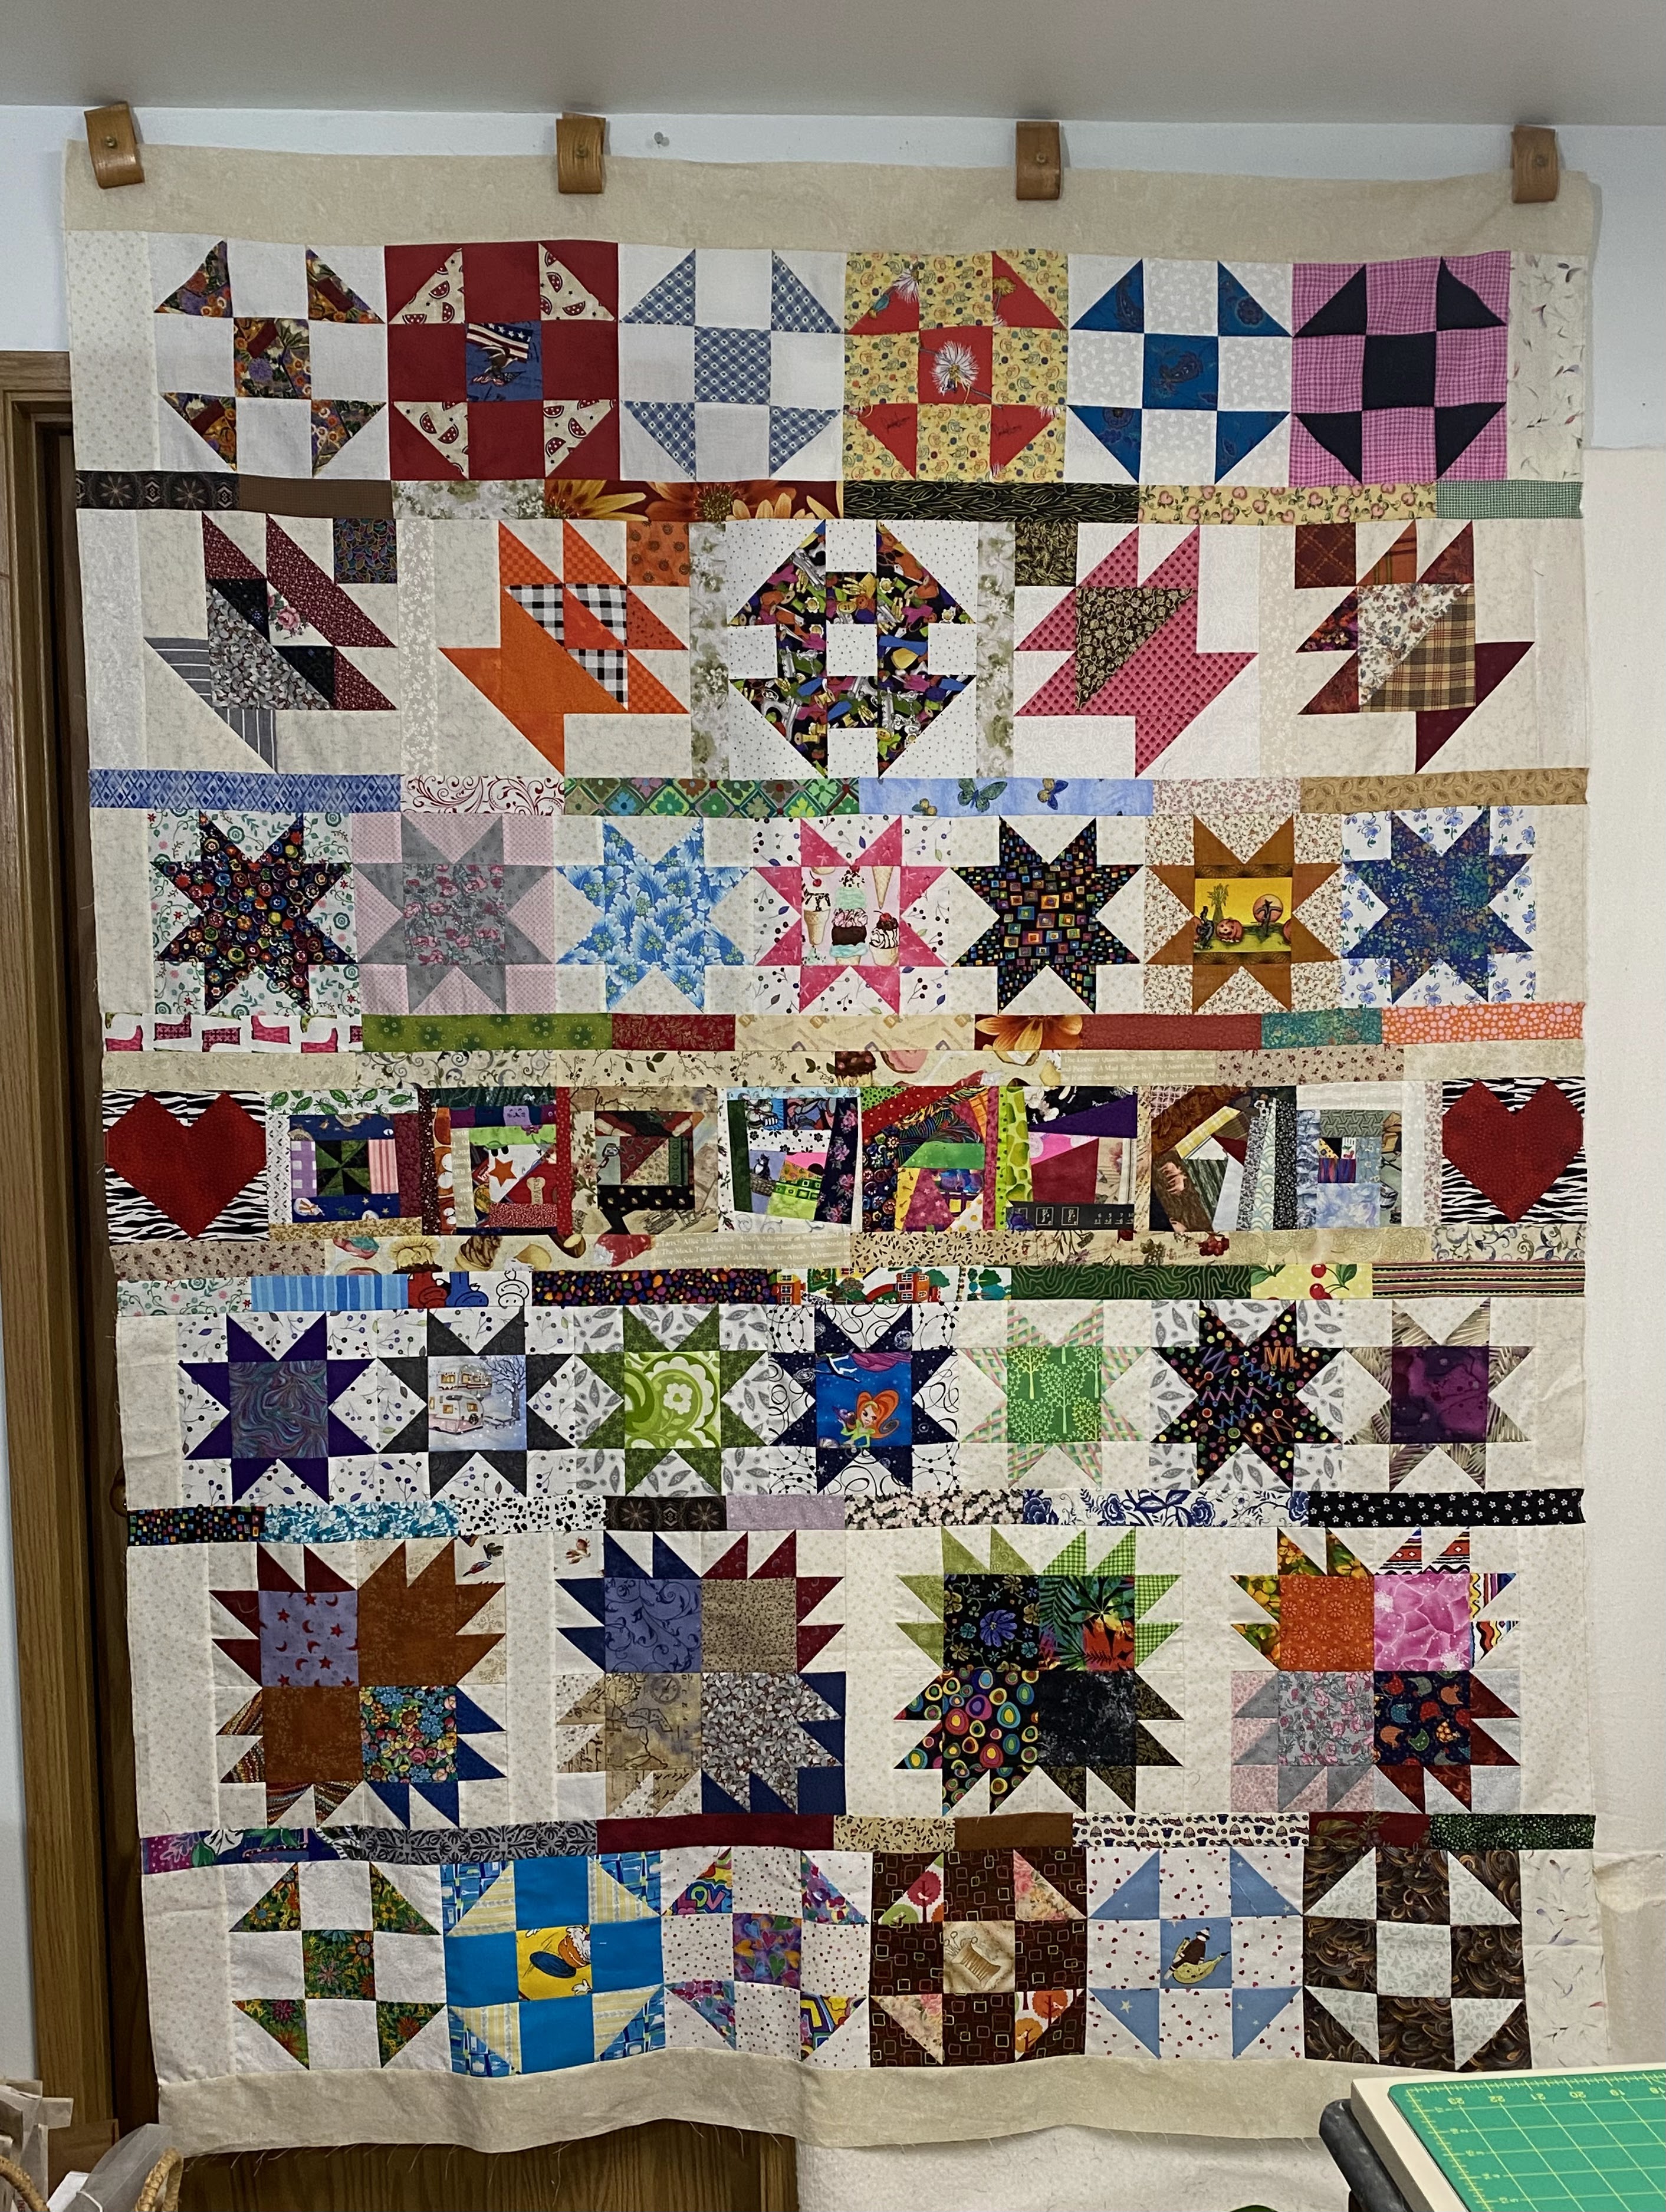
 And the flimsy? It's the quilt I started for Scrap Happy Day this month. You may recall that I'd built seven rows from my Parts Department and just needed to sash them. That turned out to be a bit more challenging than I expected but I got there in the end. 

I was determined to use more scraps for the sashing. There were plenty, it was just the math that threw me off at times. (I tried to calculate strip lengths ahead of time. Turns out that didn't work so well.) There are top and bottom borders too, so the finished quilt will be about 60 by 80 inches. 

The completed quilts will eventually head to Europe to be distributed among refugees from Ukraine. The Parts Dept. Quilt will probably stay local, for a youth in foster care. ❤️

Sunday, January 15, 2023

Scrap Happy in January - Inventory Reduction Season

Perhaps under the influence of all the clearance sales offered by retailers at this time of the year (or, more likely, the fact that I could no longer close the Parts Dept. drawer without effort) I decided it was time to build another PDQ, a Parts Department Quilt. This time I was determined to avoid the square medallion format that recent quilts have developed. Just for a change of pace. A row-by-row quilt allows for a wide variety of block sizes to be included.

I like to begin with the biggest blocks in the Parts Dept. There actually wasn't much left to work with in the 12" block section. So I sewed together some 6" Bear Paw units into 12" blocks. With a few sashing strips and compensating strips at the ends I was able to get to a 60" width pretty easily. If you've been around here for long you know that I don't typically go any wider than 60" nor longer than about 80." I find 60" a very flexible dimension to work within. The next two rows were assembled from 8" Variable/Sawtooth star blocks, again with compensating strips at the ends. 

The next block size I tackled was ten inches. I couldn't keep to one block type for the whole row but I'm happy with the way the Wrench centers the Basket blocks that I made last month. There's only one Basket block left in inventory currently. There are more Wrenches, but they have a more rustic look to them.

 Next up were the 9" blocks. I was surprised at how many Sho-fly blocks I had in this size. These two rows made a good dent in that collection. 

I really felt like I wanted/needed a seventh row to balance things out over the body of the quilt top. This last row was probably the most challenging to create. Six inch blocks take up the most room in the Parts Dept. but it was a struggle to find the right ones for this project. Eventually I came across some crazy patch or liberated blocks I'd made a few years back. Oddly enough, they worked out really well. And now there aren't any left in inventory! 😊

I've already made that row taller by adding scrappy 1.5" strips along the top and bottom edges. So now it's also 9" overall. The seven rows together add up to 65" in length. But there needs to be sashing to separate the rows. According to my calculations I can use more scrappy 2" strips (1.5" finished) to go between the rows and then cap off the top and bottom with 3" strips to get to 80 inches.

At the moment this last step seems a bit daunting. I have plenty of scrap strips waiting to be used, but I need an organized way to approach this step. While I figure that out I invite you to visit these other bloggers who regularly find creative ways to use up scrap materials. Thanks to Kate and Gun for hosting this blog hop. ❤️

KateGun, Eva, Lynda,
Birthe, Turid, Susan, Cathy,  Tracy, 
Jill, Jan, Moira, Sandra, Chris, Alys,
Claire, Jean, Jon, Dawn, Jule, Gwen,
Sunny, Kjerstin, Sue L, Vera,
Nanette, Ann, Dawn 2, Carol,
Preeti, Debbierose, NΓ³ilin and Viv