On a recent explore in Blogland I came across Fret Not Yourself and the invitation to link up our utility or improv quilts. The focus for the first quarter of 2017 is a quilt design traditionally known as Chinese Coins. This quilt I made for my FIL is a pretty good representation of that type of quilt.
You'll notice the body of the quilt is composed of columns of short strips of various prints separated by narrow vertical sashing. In this case I interrupted the stacks of coins with pre-printed panels that relate to his areas of interest. That would be the improv part of this particular quilt. ;- )
The quilt I've been working on lately is another version of Chinese Coins. It began as a potential medallion style quilt but after visiting Ann's blog I was inspired to make it a vertical strippy quilt. You can read about the beginning of the process in this post. The central column of the quilt top was built in more of a row-by-row style.
But that could be considered really large Chinese coins! The side columns more closely resemble the Chinese coins concept in that the blocks are stacked on top of each other directly. There are a couple of compensating strips inserted over the length of the columns but they aren't technically sashing like you would find in a traditional grid style quilt.
I have since added the vertical strips to separate my three columns in this quilt top.
I've used the same text print for outer borders too. You may notice that the inner sashes are wider than the outside borders. That's the opposite of what I thought I would do as I considered the layout of this quilt top. But when I realized that the central column would fit squarely on top of a twin mattress with about 1.5" of sashing showing on either side I decided to treat the two side columns (and their sashing) as the drop down the sides of the quilt on the bed. By putting 3.5" between the central column and the side columns there will be 2" of the text print showing on either side of the side columns when the quilt is on the bed. That makes me happy. :- )
Here's the completed top, turned horizontally. All I have to do now is make a back!
I'm linking this effort up with the other improv and utility quilters over on Ann's blog. I still want to make at least one more version of an improv Chinese coins quilt top but I doubt that will come to pass during this first quarter of the year. I have too many other irons in the fire for the next couple of months!
Being (mostly) an account of the creative endeavors of an artist and collector whose wings have been clipped by hypersensitivity to the chemicals in our everyday environment.
Tuesday, February 28, 2017
Monday, February 27, 2017
Bee, Myself and I in February
I was a bit more ambitious in February.
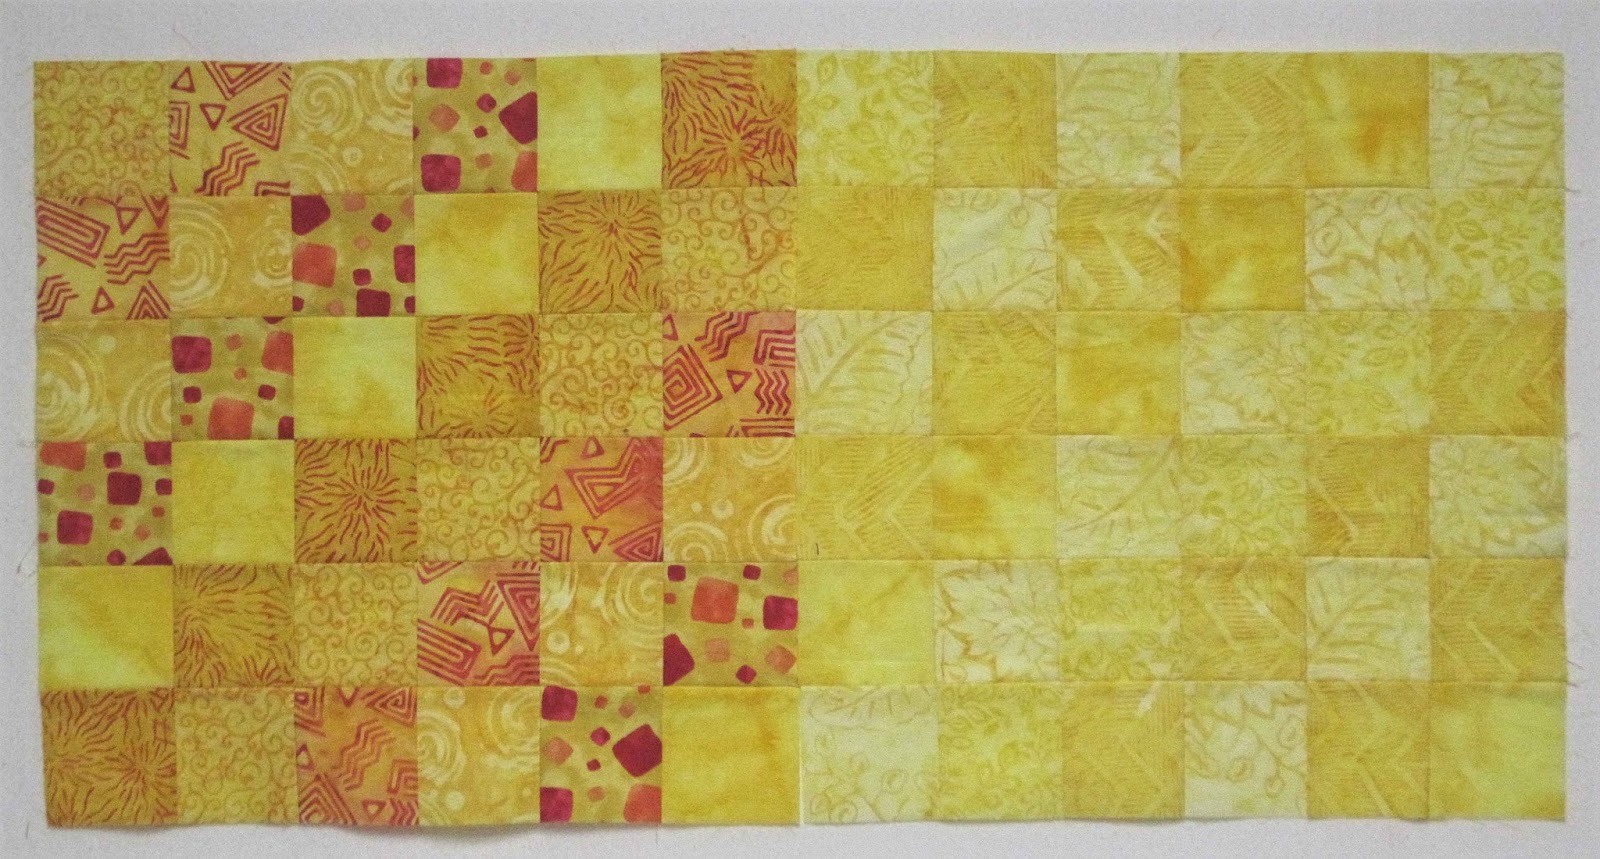
I started with the pink blocks but then couldn't resist the urge to make the orange-y one to fill in the empty spot on the design wall! I'm planning for 20 blocks overall, mostly in the yellow-orange-pink range. I think I'm actually going to need a bit more yellow before I'm done! I haven't gone to the length of deciding how many blocks to make in each color or how many to make each month. For the time being I'm just playing it by ear. There's no rush, no deadline, for this project. It just provides a pleasant change from projects that may be more pressing or challenging (like the wedding quilt coming up!).
Next month I suspect you will see some truly orange blocks. Or maybe there will be more pink - you never know. ;- )
Wednesday, February 22, 2017
PDQ Progress
P.D.Q.= Parts Department quilt, pretty darn quick!
To recap, last week I started with a couple of chicken themed orphan blocks out of my Parts Department. They ended up creating this medallion:
I decided to build another strippy version quilt rather than a medallion quilt. To that end I added only to the top and bottom of the original square. I pulled more blocks out of the Parts Dept. but had to make a couple of new ones for a more cohesive look. (Yes, even with a multitude of scraps you can achieve a cohesive design!)
Another goal was to use up some of the scrap strips in my collection. I had Chinese Coin iterations on my mind but ended up making half log cabin blocks instead.
This made a nice dent in my inventory of 6" scrap blocks. :- )
I used a handful to top off what I've been thinking of as the central column for this quilt.
There's a similar row at the bottom of the column. The rest of the blocks were divided into two groups for secondary columns. To achieve the same length as the middle column I had to throw in the occasional extra strip.
Naturally, I can't get the whole thing into one picture!
Hopefully you get the idea. The challenge now is to decide how wide to make the vertical sashing and borders. And whether to make them whole cloth or out of more scrap strips. Or whether to use vertical sashing at all! I need to get this finished up p.d.q. as now there's a wedding quilt to build for an April wedding. :- )
I've just found out about Kat's Sew Some Love link parties on Wednesdays. Since this quilt top is intended for donation through this year's Hands2Help quilt drive I'm linking up!
Linking to Quilting is More Fun than Housework where quilts from orphan blocks are being featured. ;-)
Labels:
creative process,
intuitive piecing,
maverick quilts,
orphan blocks,
scraps,
WIP
Sunday, February 19, 2017
SAL in February
Since I've been sharing my embroidery and linking up with Slow Sunday Stitching on Kathie's blog I was afraid I wouldn't have much to share to day. For those who haven't been here since the last SAL I finished up the two needlepoint cases I've been working on.
You've seen the crown in stages. I used an iridescent floss within the crown to represent diamonds. I think the heat from blocking the finished case with steam may have taken the shine out of it however.
I'm not sure you've seen this second case, at least not as frequently. I acquired the two kits at the same time, and both of them needed tweaking, in my opinion, in terms of design and colors.
I found it difficult to see the tulip clearly in the original version of this design so I simplified the color application significantly. These cases are now in the hands of their new owners (or the postal service; I haven't heard that they've been received yet).
After the completion of these two small cases (they're each about 4.5" x 3.5") I was at something of a loss as to what to tackle next. That's when I decided to add more puppies to the dish towel I've been embroidering.
Well actually, I added the puppies after placing a couple of orders online for new embroidery projects. ;- ) I couldn't find a needlepoint design I was willing to tackle but I did find this pre-finished pillow cover to embroider, from Sublime Stitching.
It came with packets of floss in various shades but without clear instructions as to which color goes where. There were more skeins of floss than the pattern requires. Not a big deal really, I just haven't taken the time to decide which colors to use where. It will be a happy project to work on though.
The other embroidery project I ordered came from Estelle in France, via Etsy.
I was looking for another image entirely to be part of a wedding quilt for our newly-engaged niece. So far that remains a complete fail. But when I saw this I fell in love with it! Even if I don't use it in the wedding quilt I will enjoy stitching it and having it in our own home. :- )
This post is part of a world-wide group of stitchers who update us on their progress every three weeks. Our next post will be on 12 March. I invite you to take a world tour to see some amazing needlework!
Avis, Claire, Gun, Carole, LucyAnn, Kate, Jess, Constanze, Debbierose, Christina, Susan, Kathy, Margaret, Cindy, Helen, Steph, Linda, Catherine,
Wendy
Saturday, February 18, 2017
And Still More Scraps
The Rainbow Scrap Challenge color of the month is anything in the aqua to teal range. I don't have a lot of scraps left in those colors after making blocks for Kate's quilts to raise money for ovarian cancer research and treatment in Australia. I have managed to produce these however:
There might be a couple more small blocks before the month is over but unless I break into yardage this is pretty much it. On the other hand, I'm beginning to put some of the blocks in my Parts Department (where my orphan blocks go to live until they're needed) to good use. I had two of these Arrowhead blocks featuring chicken prints.
They finish at 16" each. There are a handful of other blocks featuring chickens too but they didn't play well with the Arrowheads. Which is probably why the original project stalled in the first place!
This is a 10" block. I figured if I made another 10" block I could set them in a four patch arrangement with the Arrowheads.
I framed the smaller blocks with another chicken print and then used the rusty print to make the composition 36" square, an easier number to build upon.
At this point I had to decide how I wanted to make this big enough for a twin bed. I did a little blog surfing and came across the Ad Hoc Improv Quilters Chinese Coins invitational. While I'm not officially participating in that effort it did give me ideas for this project. I've decided to make another strippy quilt, this time featuring a wide central column and two narrower side columns. The first step was to lengthen this square medallion. I did that with 3x6" flying geese units. Now it's 36" wide and 42" tall. In a few days I'll show you what I've done since then. Today I'm linking up with the RSC quilters so you can pop over there to see what everyone else is doing with their aqua and teal scraps. :- )
Subscribe to:
Posts (Atom)